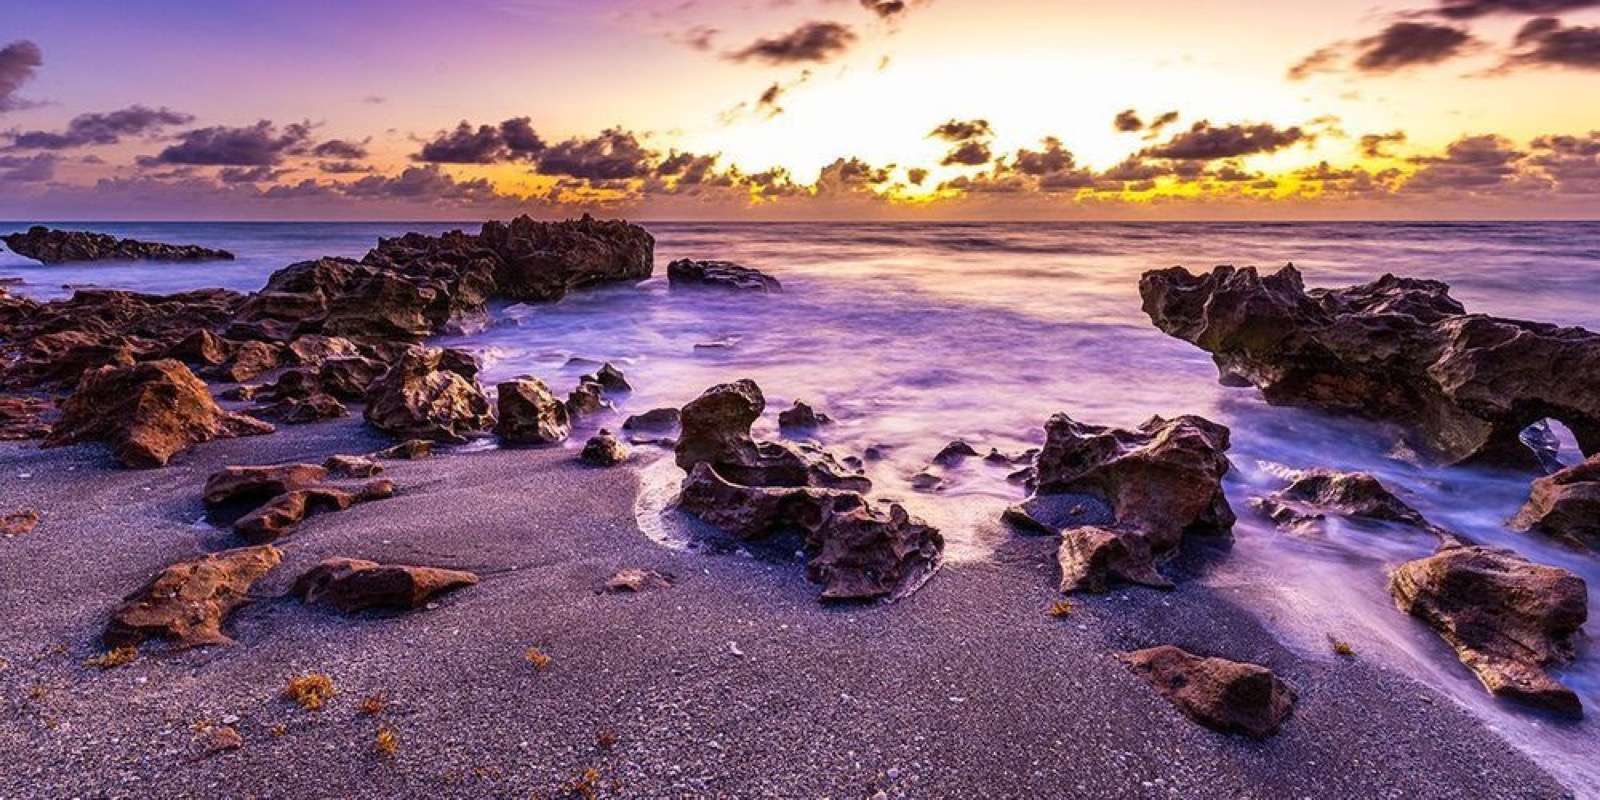
Photograph: Neal Nachman / Artistic Creationz. Used as an illustrative image.
There is no single correct shutter speed for moving water. A short exposure can emphasize separate droplets, while a longer one can turn repeated movement into a smoother shape. A simple comparison helps you choose deliberately.
Keep the composition steady
Find a safe viewpoint on stable ground, away from breaking waves and slippery edges. Frame an area containing both moving water and a fixed reference such as rock. If using a tripod, secure it appropriately and check the support before concentrating on the image.
Make a sequence at several shutter speeds while maintaining a suitable overall exposure. You might begin with a relatively crisp interpretation, then lengthen the exposure in steps. The exact values depend on the water’s speed, the light and your distance. Adjust other settings thoughtfully and avoid forcing an aperture that undermines the result you want.
Compare the structure
Review the photographs together at the same size. Ask whether the water draws attention toward the main subject or becomes a blank area. Look for an intermediate version that preserves directional streaks without overwhelming the frame.
Record the combination you prefer and why. The lesson is not a magic number to use at every waterfall or shore. It is a better understanding of how exposure time changes the photograph’s visual structure. Repeat the exercise when the flow or viewpoint changes, and let the intended mood guide the technical choice.
Continue exploring
Beyond Golden Hour: Finding Beautiful Photographs in Unexpected Light · Finding Your Visual Signature: Building a Photography Portfolio People Remember