Photographing wildlife during late autumn freezes or mid-winter storms presents operational challenges that extend far beyond simply keeping your hands warm. Cold air accelerates battery drainage, high-contrast snow fields trick built-in light meters, and abrupt transitions between freezing outdoor air and warm cabins threaten equipment with heavy internal condensation. Managing these physical realities allows you to capture wildlife behavior cleanly while protecting your imaging tools from preventable damage.
Protecting Gear and Managing Batteries in Low Temperatures
Cold conditions sap electrical performance quickly across all lithium-ion power cells. According to practical guidance documented in Nikon’s Tips for Shooting in Cold Weather, carrying spare batteries inside an interior coat pocket keeps them warm against body heat until the instant they are needed in the camera body. When operating in freezing terrain, keeping a fully charged cell in the camera and rotating spares from warm layers prevents abrupt operational shutdowns when an animal suddenly appears.
Shielding camera internals during bad weather is equally vital. When sleet, snow, or windblown moisture threatens an open mount, changing lenses should be avoided outdoors unless strictly necessary. Deploying the lens hood provided with your telephoto optic prevents falling snowflakes or water drops from settling across the front glass element. For field setups where moisture is continuous, commercial rain covers, or emergency covers fashioned from a large plastic zip-top bag secured with rubber bands around the barrel, offer essential protection.
Managing temperature shifts when returning from a cold session is critical to prevent optical fogging. Placing cold equipment inside a zipped camera backpack or dry bag before stepping into a heated room or vehicle allows gear to warm up gradually. If a cold camera is exposed immediately to warm, humid indoor air, condensation will quickly form across exterior elements and deep inside internal optical assemblies.
Setting Metering and Compensation for Bright Snow
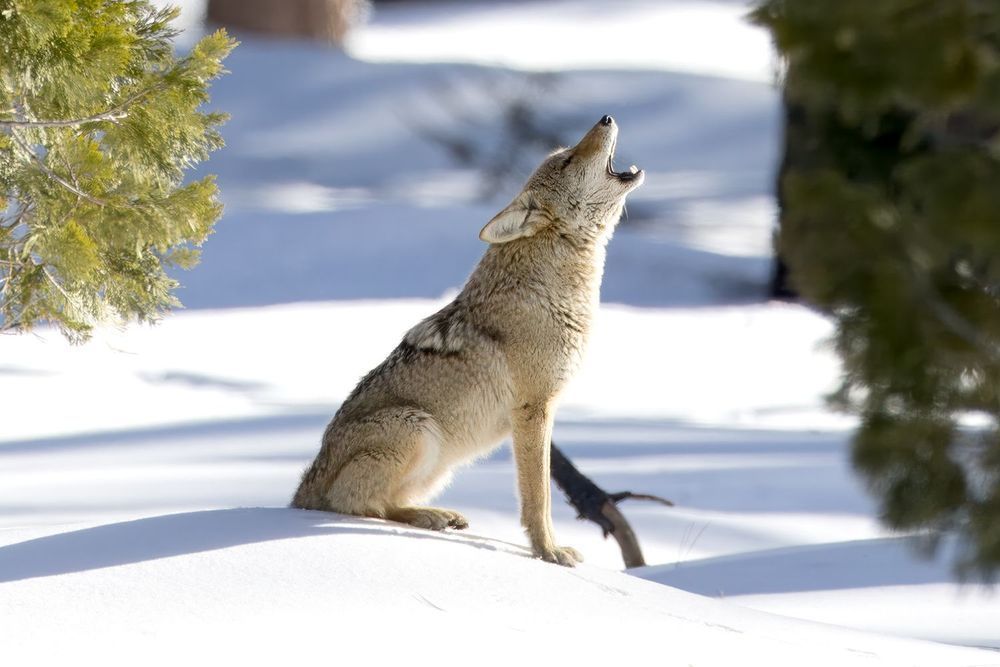
Camera light meters evaluate scenes by attempting to render overall frame tones to a neutral mid-tone gray. When faced with broad snowy fields or icy tundras, built-in matrix systems can underexpose the scene, leaving snow muddy and animal coats underexposed. Adjusting exposure deliberately ensures that both clean snow highlights and dark wildlife fur remain clearly defined, building on concepts previously discussed in Wildlife in Snow: Check Fur Detail and Bright Backgrounds.
| Condition / Metering Choice | Recommended Camera Setting | Primary Field Objective |
|---|---|---|
| Sunlit Snowscape | Sunlight WB / Matrix Metering | Retain crisp highlights without blowing fur texture |
| Overcast Snow Field | Cloudy White Balance | Eliminate dull blue tint across snow tones |
| Underexposed Scene | +0.3 to +1.0 EV Compensation | Restore natural bright snow without clipping whites |
| High-Contrast Scene | Manual Exposure / RAW | Preserve dark shadow data and tonal latitude |
As detailed in Nikon’s guide to Shooting in Cold Weather, applying positive exposure compensation in 1/3-stop increments—starting at +0.3 EV and testing up through +0.7 or +1.0 EV—compensates for meter conservatism and brings bright snow back to accurate tonal values. Reviewing the in-camera histogram after test frames confirms that the highlight curve approaches the right edge without clipping delicate fur edges or highlight plumes. Recording in RAW format retains essential flexibility to refine subtle color temperatures and exposure balances during post-processing.
Approaching Cold-Climate Wildlife and Working Focal Reach
Working around arctic and winter wildlife demands deliberate logistical preparation. As noted in Nikon’s field report on Photographing Arctic Wildlife, animals in frozen environments—from coastal waterfowl to large mammals—require careful distance management and awareness of surroundings. Approaching with a partner, identifying natural retreat routes, and respecting an animal’s feeding habits or movement paths are safety prerequisites.
You do not always need massive super-telephoto lenses to capture evocative wildlife images. Placing an animal naturally within its winter habitat often tells a stronger visual story than an extreme tight crop, a practice highlighted in Environmental Wildlife Portraits: Leave Room for the Place. Leaving negative space in the direction an animal is traveling creates dynamic tension, showing natural interaction with windblown ridges, iced lakes, or snowfall.
When additional optical reach is required without carrying massive secondary primes, specific technical alternatives bridge the focal gap effectively:
- Teleconverters: Adding a 1.4x, 1.7x, or 2.0x teleconverter between a telephoto zoom (such as a 70–200mm) and the body increases reach while maintaining sensor resolution, though photographers must account for optical light loss.
- In-Camera DX Crop Mode: Full-frame camera bodies offer internal crop settings that provide a 1.5x framing factor, outputting smaller yet convenient files when framing distant subjects.
- Polarizing Filters: Using a circular polarizer around water and icy surfaces eliminates glaring reflections and enriches color saturation in dark water and bright skies.
By pairing rigorous camera thermal care with deliberate exposure compensation and respectful field movement, photographers can operate reliably throughout sub-freezing conditions and produce clean, compelling winter wildlife frames.
Sources
- Nikon Learn & Explore: Tips for Shooting in Cold Weather (Checked: 2026-11-08)
- Nikon Learn & Explore: Photographing Arctic Wildlife (Checked: 2026-11-08)
- Nikon Learn & Explore: Creating Compelling Wildlife Imagery Without Super Telephoto Lenses (Checked: 2026-11-08)
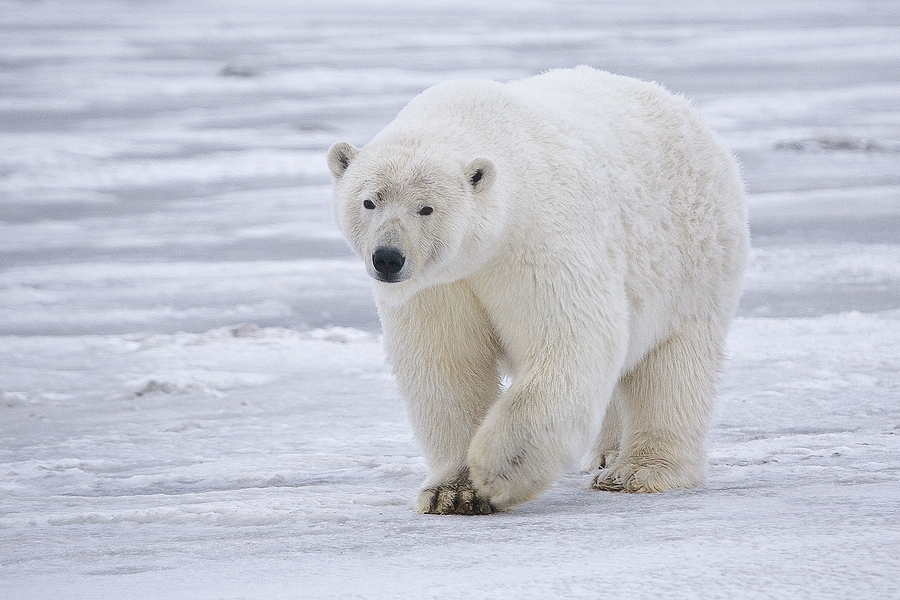
Representative photo of a polar bear on snow-covered ground, as documented in Alaska. Photo: Alan Wilson / Wikimedia Commons · CC BY-SA 3.0. Resized for display. Sources checked November 8, 2026.