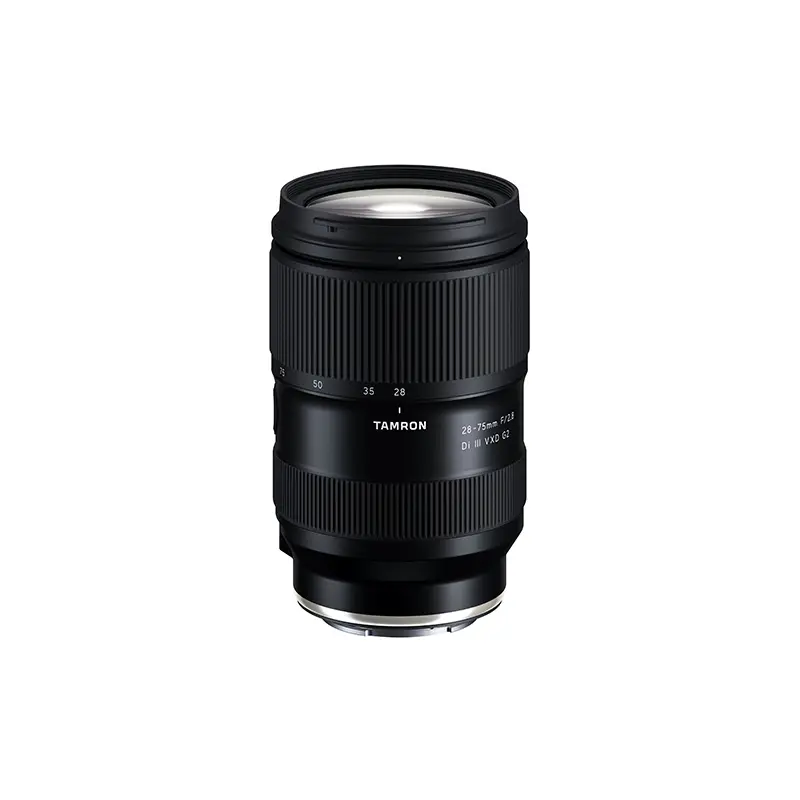
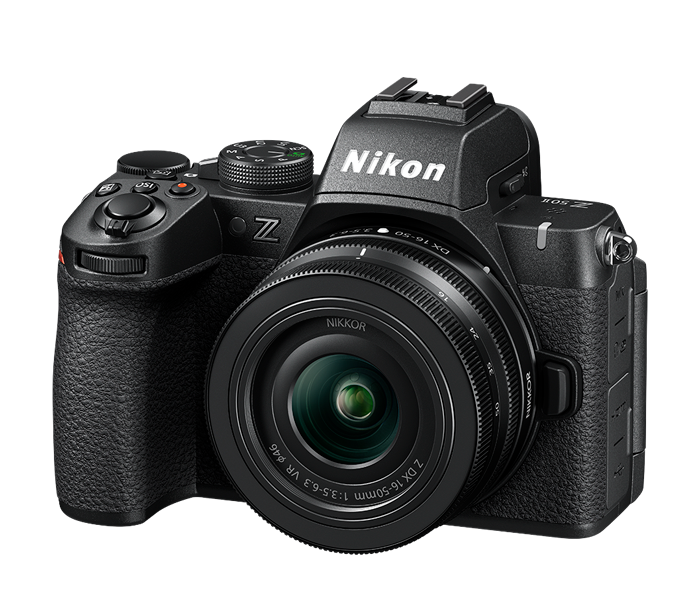
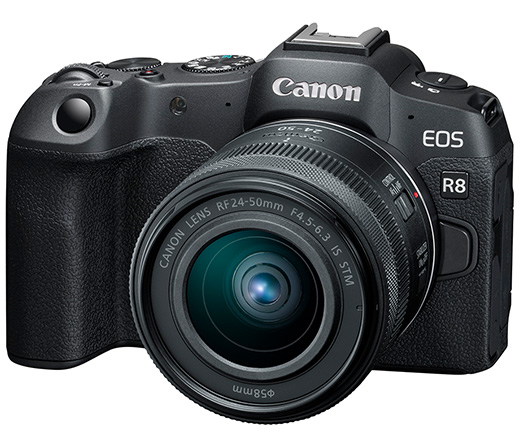
Photograph: Amber Favorite / Shutterbug News archive.
Equipment guide. This article explains selection and evaluation criteria; it is not a hands-on product review.
A low camera position can simplify a wildlife background and create a stronger connection with the subject. It can also make handling more difficult on sand, mud or wet ground. Plan support around the location and the animal’s space before lowering the camera.
Choose the position responsibly
Find a safe, permitted viewpoint at an appropriate distance. Do not move closer merely to create a low angle. Consider how you will leave without suddenly standing or moving through the animal’s path.
Check the ground and expected water movement. A visually appealing position is not useful if it exposes you or the equipment to avoidable danger.
Support the lens and controls
A suitable low tripod, ground support or stable resting arrangement may reduce strain. Follow the equipment’s intended use and keep moving parts clear of grit. Make sure you can reach the shutter, focus controls and screen without pulling the camera out of position.
Try the arrangement before the subject arrives. A comfortable position helps you wait patiently and react without a large movement.
Judge the complete frame
Low does not always mean better. Watch foreground obstructions and ensure the animal remains visible in a meaningful way. Compare a slightly higher viewpoint when possible. Keep the photograph that communicates the subject and setting clearly, rather than treating proximity to the ground as the achievement itself.
Continue exploring
Capturing Nature’s Majesty: The Art Of Wildlife Photography From A Low Angle · The Ethics of Wildlife Photography: Distance, Baiting and Honest Images