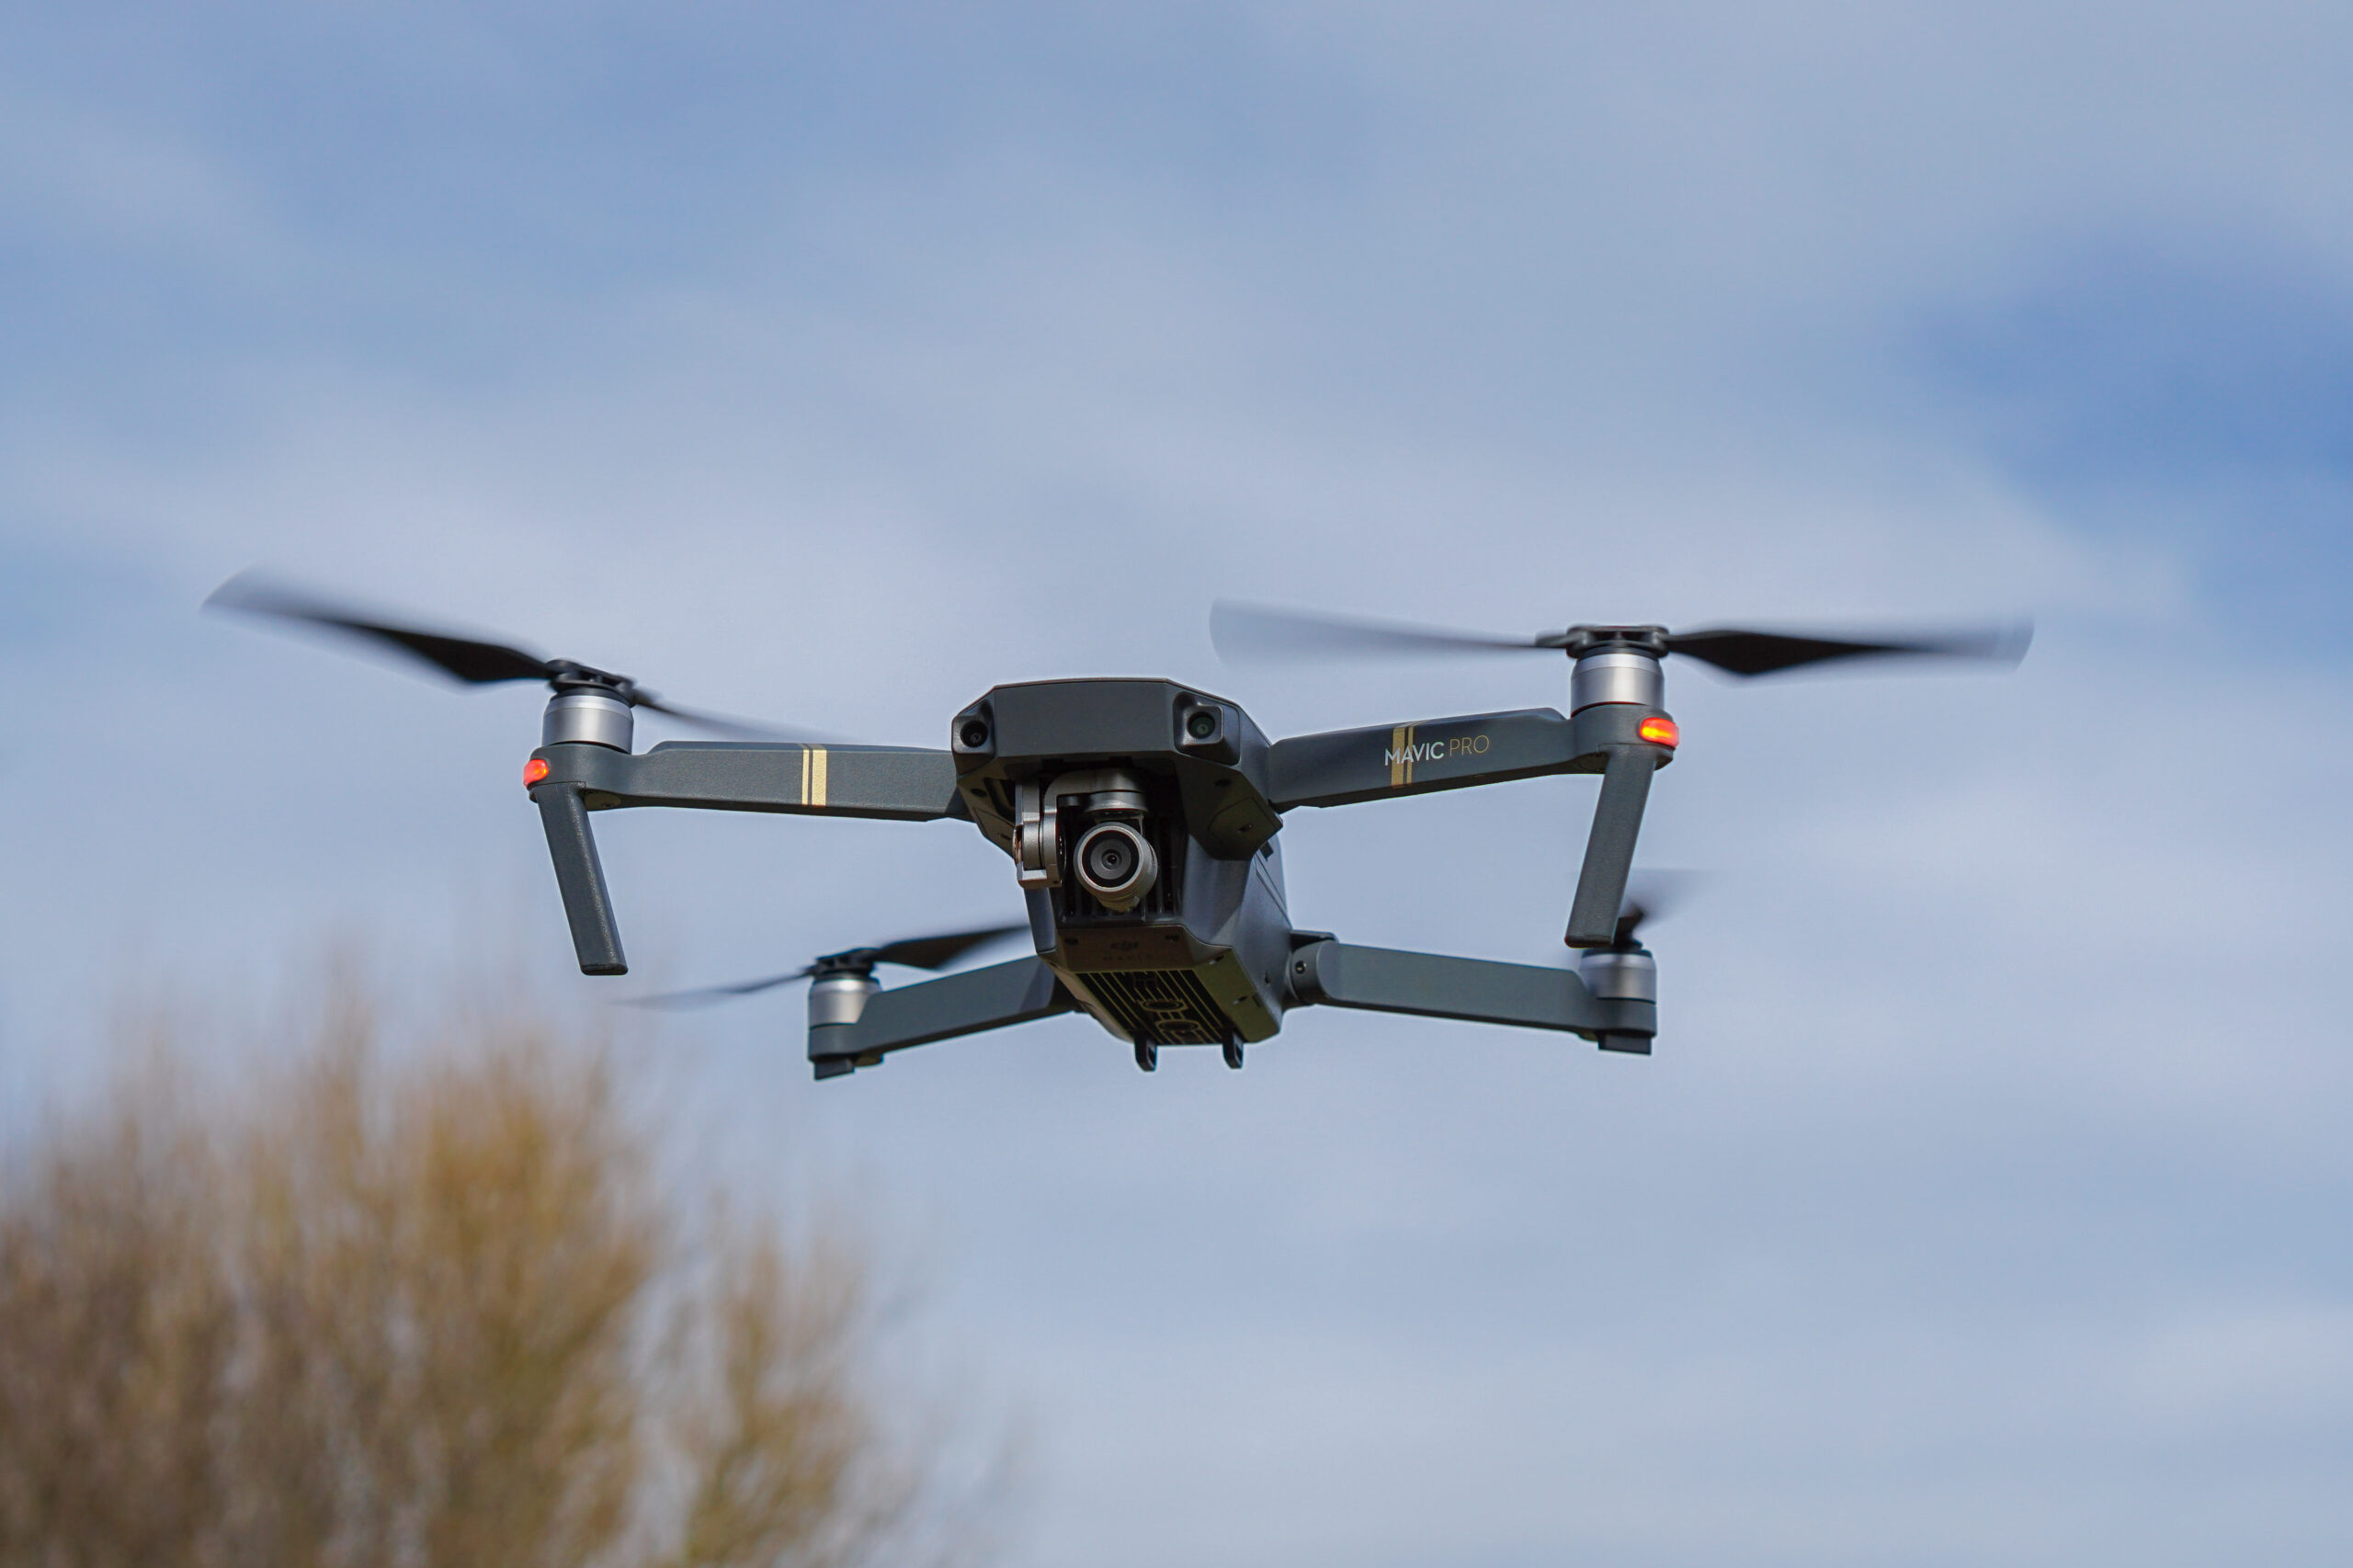
Photo: Sinky, DJI Mavic Pro, CC BY-SA 4.0. Resized; card thumbnails may be cropped. Archive equipment illustration.
Equipment guide. This article explains selection and evaluation criteria; it is not a hands-on product review.
Published flight time is measured under stated conditions, not a promise of usable photographing time in every location. A photo session also needs time for takeoff, positioning, checking the scene and returning. Plan the mission conservatively using the aircraft manufacturer’s current guidance.
Separate the photograph from the flight
Write a short list of the views you need before launching. Consider the distance, conditions and any changes that could require an early return. Do not use the remaining battery indication as an invitation to add an unplanned distant subject.
Inspect batteries and the aircraft according to the manual. Follow storage, charging and temperature guidance, and remove damaged equipment from use.
Keep the plan adaptable
Weather, signal conditions and unexpected activity can change the session. Know when you will stop rather than relying on a last-minute decision. The camera operator’s attention should remain on responsible flight, not on completing every item on a creative checklist.
Check applicable rules and airspace information through the relevant authority. In the United States, the FAA’s getting-started resources explain where to find the appropriate requirements.
Review each session
Record the conditions, actual time used and any operational difficulty. Use those observations to improve the next plan, while continuing to follow the equipment’s limits. A useful photography mission ends with the aircraft recovered safely and enough information to make the next session more predictable.
Continue exploring
Top 10 Photography Tour Companies to Know in 2026 · New Equipment, a Bucket List Trip, and Getting the Shot
Source and further reading: FAA getting-started resources. Checked October 8, 2026.