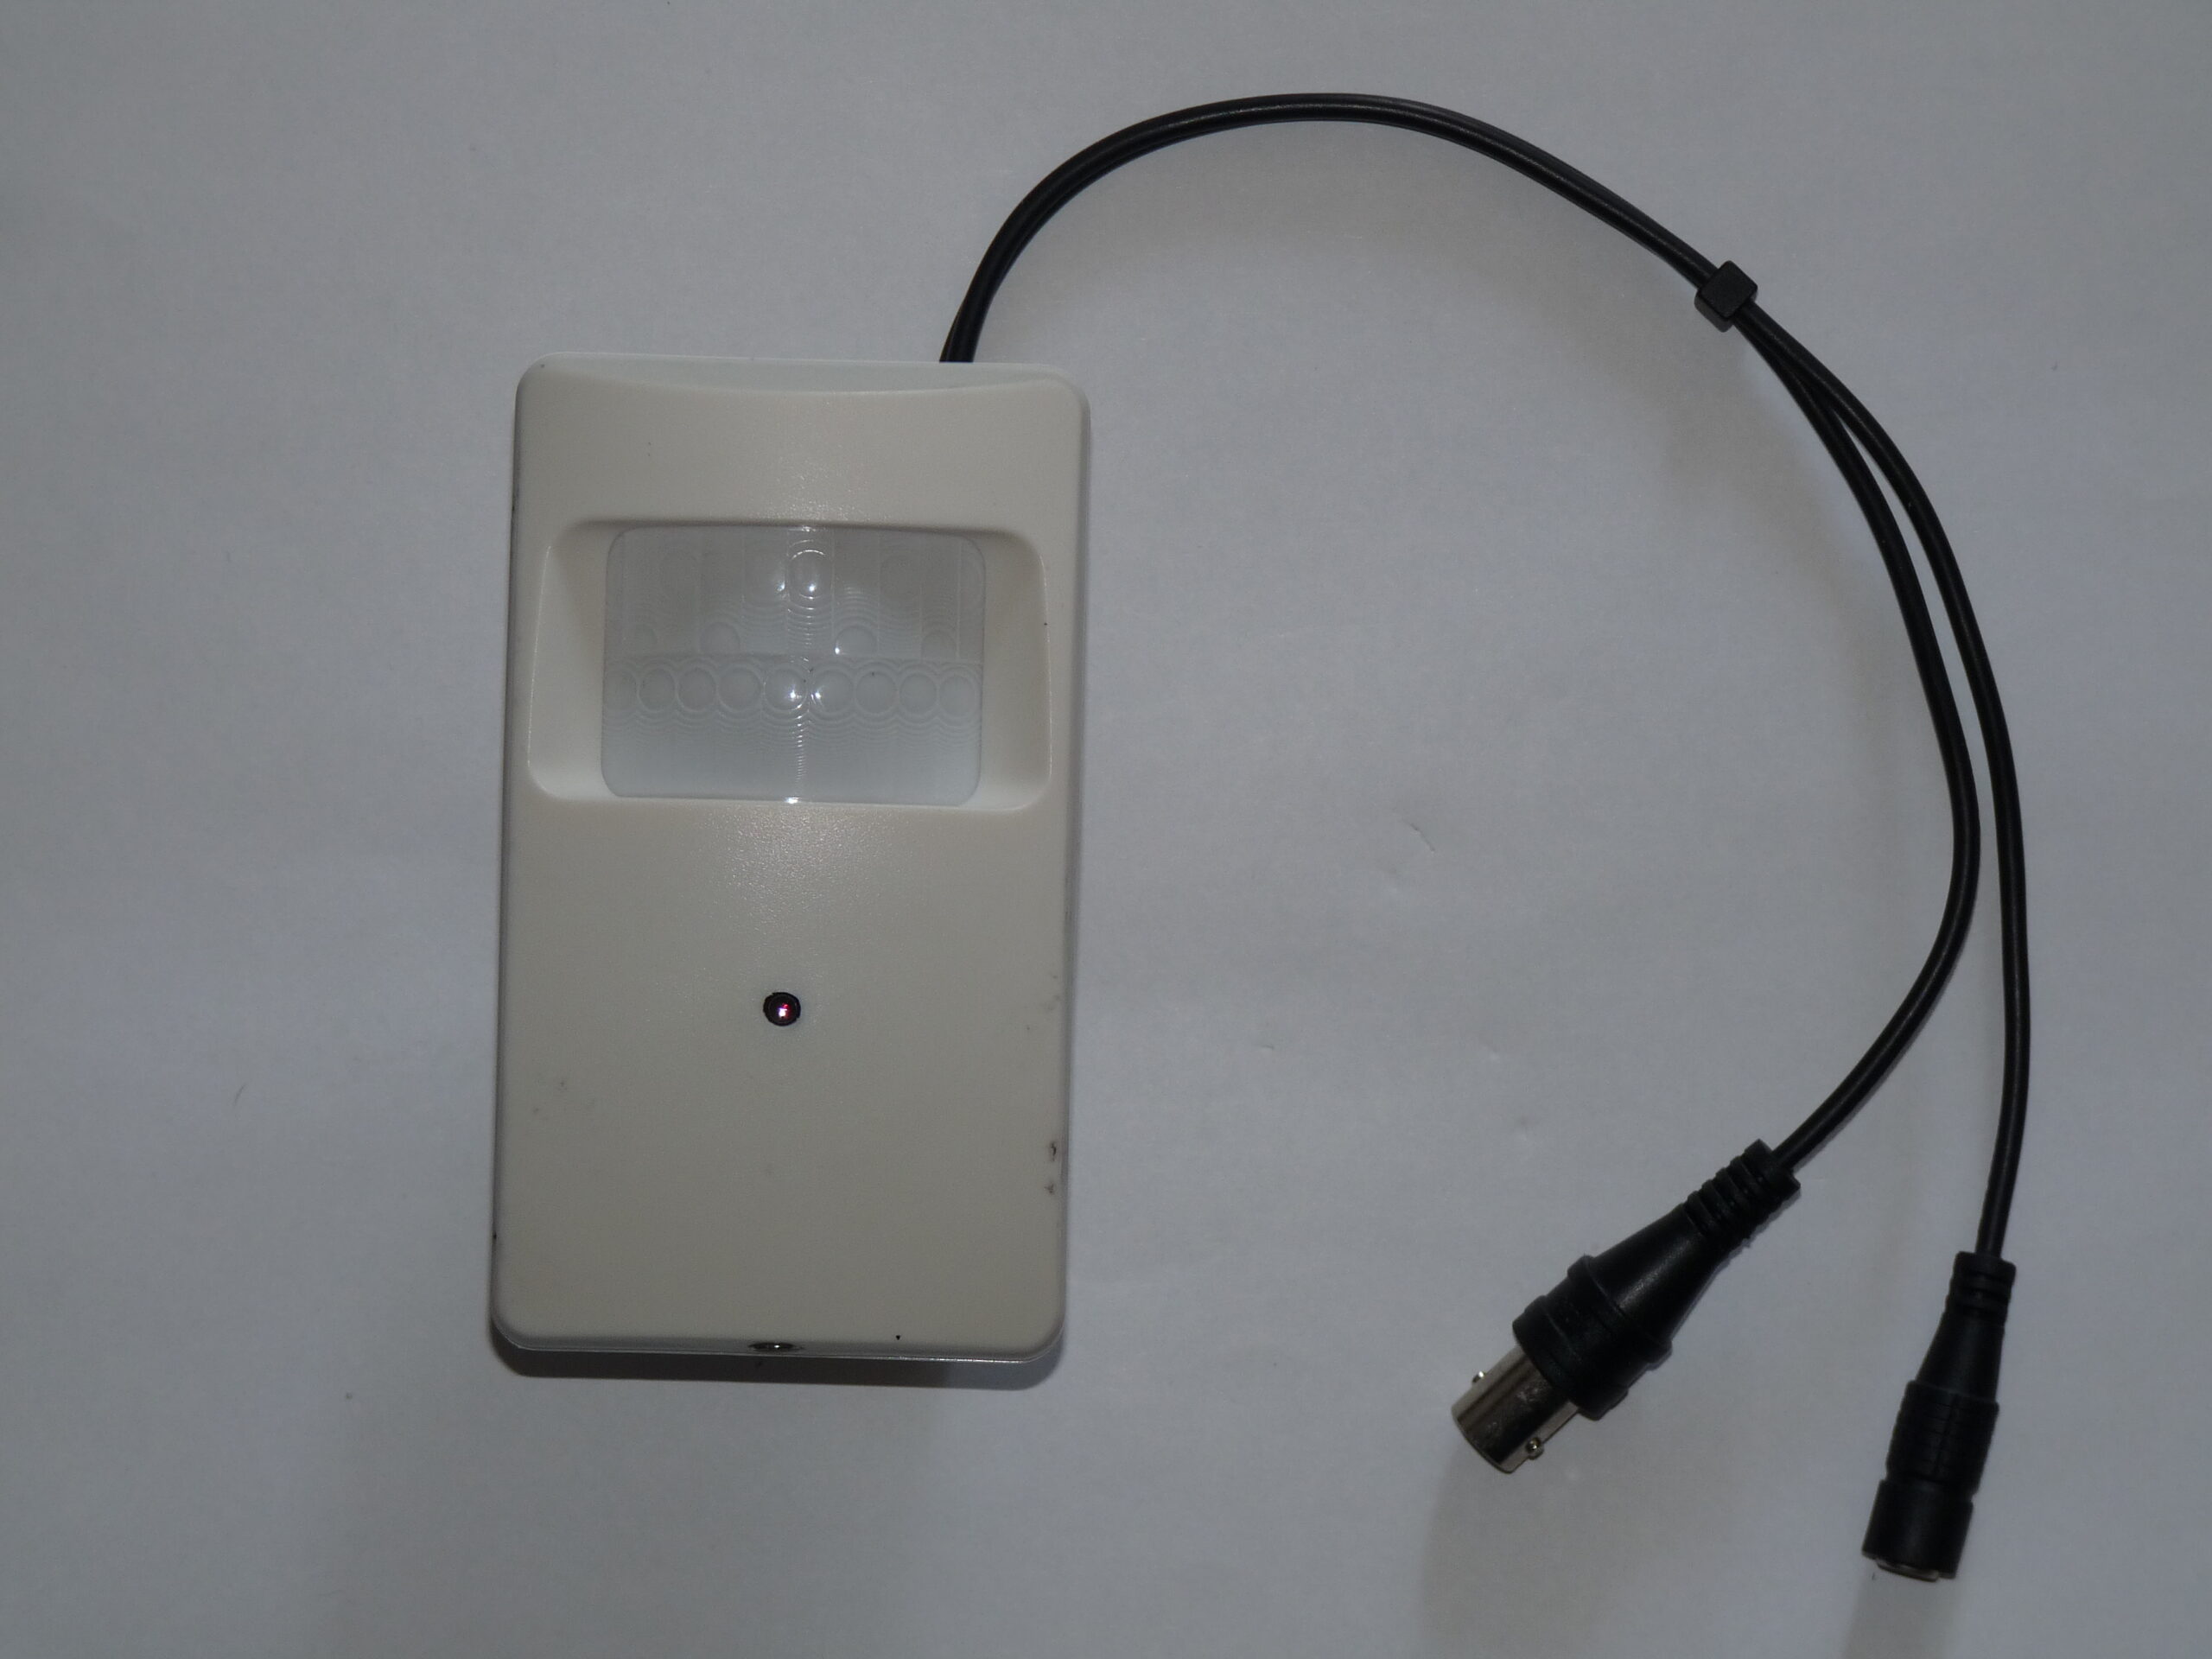
Photo: Dmitry G, Security video camera, CC BY-SA 3.0. Resized; card thumbnails may be cropped. Archive illustration, not a model recommendation.
Equipment guide. This article explains selection and evaluation criteria; it is not a hands-on product review.
A clean night-time still image is not enough to judge a camera intended to record movement. In a studio corridor, a person may cross the frame while a bright sign or doorway dominates the exposure. Ask to see that kind of scene before buying.
Compare movement, not just an empty room
Request a short original clip containing someone walking through a similarly lit space. Look at the point where they turn, approach the camera and pass through the brightest area. Decide whether the detail you need stays usable throughout the movement.
Avoid comparing samples shown at different playback sizes. Download them if the supplier permits it and view both at the same size on the same screen. Excessive enlargement can exaggerate small differences, while a tiny preview can hide weak detail. Keep your judgment tied to the intended viewing and export workflow.
Check difficult surfaces
Glass, glossy prints and reflective packaging deserve attention. Try a temporary mounting position before committing to a permanent one. Check whether nearby objects distract from the entrance or create a bright patch that obscures the useful view.
Treat night footage as one part of the purchase decision. The best-looking sample may still come from a system with an awkward export process or unsuitable retention plan. Record your observations in a short checklist and prioritize the scene you need to understand, rather than a dramatic demonstration that bears little resemblance to your studio.
Continue exploring
Exploring Pre-visualization in Photography · 10 Tips for Real Estate Photography