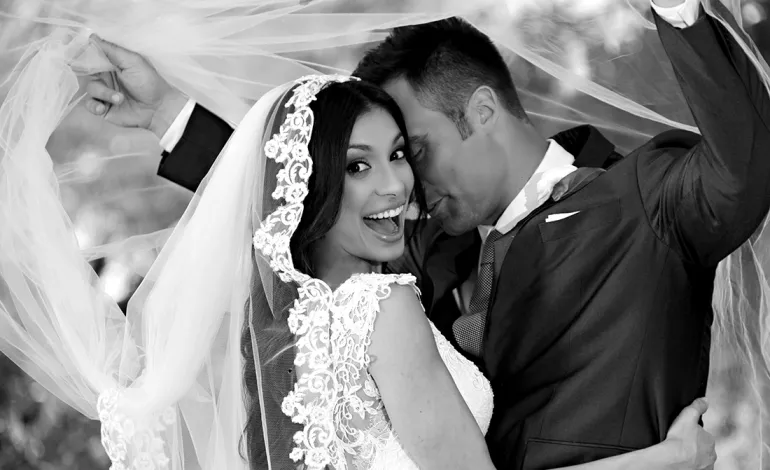
Photograph: Neal Nachman / Artistic Creationz. Used as an illustrative image.
Straightening and cropping can clarify a landscape, but they can also remove the space that made the original frame work. Begin by naming the photograph’s main relationship: foreground to distance, a small subject within a broad setting or a pattern across the frame.
Choose the right reference
Look for a reliable horizon or structural line rather than assuming every visible slope should be level. A shoreline or hillside may naturally rise across the image. Correct an unintended tilt when it distracts, then reassess the composition instead of treating the first adjustment as final.
Inspect all four edges after rotation. Check for partially cut objects, small bright distractions and important shapes now pressed against the boundary. Make the crop deliberate, preserving enough room for the visual relationship you identified at the start.
Compare at the same viewing size
Place the original and revised versions side by side at a similar display size. Ask whether the crop improves attention or merely enlarges the obvious subject. A tighter image can feel stronger immediately while losing the environmental context that gave it meaning.
Keep a reversible version in your editing workflow and label alternate crops by their intended use. A print, a website banner and a magazine page may require different proportions. Finish by reviewing the chosen crop as a complete photograph, rather than as the accumulated result of several small corrections made without returning to the original intent.
Continue exploring
Beyond Golden Hour: Finding Beautiful Photographs in Unexpected Light · Finding Your Visual Signature: Building a Photography Portfolio People Remember