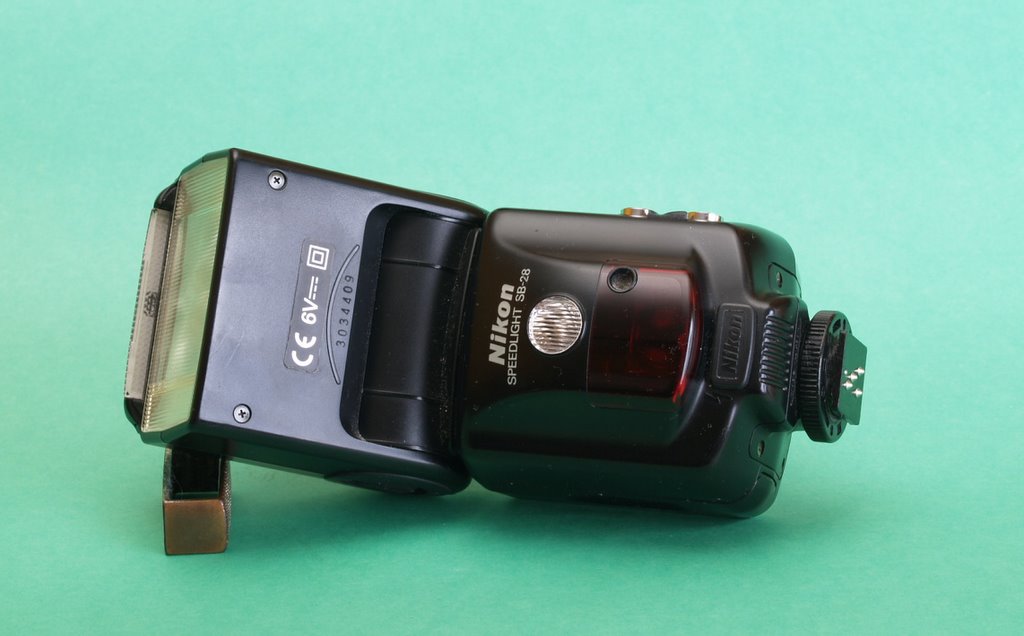
Balancing an illuminated night sky against dark terrestrial foregrounds presents a recurring problem in night photography. When photographing under a new moon or in remote locations away from urban light pollution, foreground elements like rock formations, desert brush, and trees frequently render as flat silhouettes. While silhouetting works for minimal compositions, revealing foreground textures gives an image dimensional depth. Instead of relying purely on high-ISO ambient illumination or continuous torches, using manual flash bursts from handheld portable strobes offers precise control over light direction and intensity.
The Mechanics of Speedlight Painting During Long Exposures
In astrophotography and nocturnal landscape work, the camera shutter often remains open for 15 to 30 seconds to capture pinpoints of starlight or the Milky Way. As detailed in Nikon USA’s night sky photography guide, photographers such as Pete Saloutos use Speedlights to paint light into dark scenes during an extended exposure. Rather than mounting the flash to the hotshoe, the strobe is held off-camera, and the photographer manually presses the flash test button multiple times while the shutter remains open.
This method differs fundamentally from static studio illumination. By moving the strobe while firing between two and ten individual pops across a single frame, light wraps around three-dimensional objects. When lighting complex structures like boulders or twisted trees, placing operators at angles away from the camera axis—for example, starting fifteen feet away and stepping along diagonal paths closer to the subjects—prevents the harsh, flat look of direct front flash. This principle connects closely to general creative portrait practice; just as we explore in One-Light Portrait Practice: Change Only the Direction, shifting the relative angle of the primary beam transforms a subject from a two-dimensional cutout into a sculpted form.
Preventing Hot Spots and Managing Motion
The primary technical risk when popping strobes during a long exposure is overexposure in localized zones. Constant light sources like flashlights require sweeping motions to avoid concentrated bright spots. Speedlights deliver instant bursts, but pointing multiple pops at the same patch of bark or stone will quickly blow out highlight details. According to technical techniques outlined in Nikon USA’s star trails tutorial, keeping the light source moving and varying where the flash head points ensures an even spread across the entire plane of focus.
To execute this technique cleanly in the field, establish deliberate camera and strobe parameters before releasing the shutter:
- Lock Camera Exposure: Set the camera to manual mode or BULB. Keep shutter speeds around 15 to 25 seconds when stars must remain sharp points of light without trailing, paired with wide apertures such as f/2.8 or f/4.
- Set Strobe Output Manually: Avoid automated TTL metering, which cannot evaluate the overall duration of an open-shutter landscape. Set the Speedlight to manual power, dialing output down to fractional levels (such as 1/16 to 1/64 power) to avoid overpowering the scene in single bursts.
- Disperse the Angles: Walk alongside the target area rather than standing still beside the tripod. Direct separate bursts at sides, low branches, and receding edges to create dimensional separation.
- Prevent Light Leaks: Ensure the flash head never points directly back toward the camera lens, which produces immediate lens flare and streaks across the recording medium.
Using Color Gels for Environmental Separation
Unfiltered electronic flash typically registers at daylight color temperatures around 5500K to 6000K. In stark natural environments lit by a cool night sky, unfiltered strobes can look synthetic or sterile against deep shadows. Placing colored gels over the flash head alters the mood and reinforces tonal harmony across the composition.
Pete Saloutos demonstrated this approach in Joshua Tree National Park by mounting blue gels over handheld Nikon Speedlights during exposures ranging from 15 to 25 seconds at ISO settings from 4,000 to 12,800. The blue filtration integrated naturally with the cold ambient sky while separating the foreground flora from the dark background. Modifying strobe color temperature in the field functions identically to deliberate color adjustments in natural light setups, an application detailed in our review of Using a Warming Gel With Purpose in a Portrait. Whether choosing warm tones to suggest campfires or cool tones to mimic lunar wash, gels convert a stark utility flash into an expressive accent tool.
Exposure Reference and Field Settings
The table below summarizes typical field configurations used when integrating manual Speedlight painting with starry backgrounds:
| Element | Sky / Camera Setting | Speedlight Parameter | Technique Purpose |
|---|---|---|---|
| Milky Way & Boulders | 15–20s, f/2.8, ISO 4000–6400 | Manual low power, blue gel | Supplements dark silhouettes with cool rim detail |
| Foreground Trees (Single Frame) | 20–25s, f/2.8, ISO 3200–4000 | 2–10 pops while moving off-axis | Creates wrapping light and avoids hot spots |
| Star Trails Stack Foreground | 30s–3 min, f/5.6, ISO 800–1000 | Manual pops on single base plate | Provides clear foreground base for stacking |
By treating the Speedlight as a mobile brush rather than a stationary fixture, photographers can introduce sculptural clarity to dark outdoor scenes without washing out the delicate details of the night sky.
Sources
- Nikon USA: Photographing the Night Sky (Checked: October 30, 2026)
- Nikon USA: Photographing the Night Sky: Star Trails (Checked: October 30, 2026)
Representative photo of a Nikon Speedlight flash unit. Photo: HenrikHardcore at Danish Wikipedia / Wikimedia Commons · CC BY-SA 3.0. Resized for display. Sources checked October 30, 2026.


