A reproduction of flat artwork should preserve the object’s shape before software corrects its color. If a rectangular work appears trapezoidal, the camera position deserves attention first. A careful setup can prevent hours of trying to repair geometry across a series of photographs.
Prepare the object and the camera
Inspect the artwork before moving it. Do not remove a fragile work from its mount, press it flat or clean its surface simply to make photography easier. Ask the owner or a conservator how it should be supported. Plan the destination before lifting the object, and keep handling to a minimum.
Place the camera square to the artwork, with the sensor plane parallel to the surface. Leave enough space around the edges to confirm the full rectangle is included. Check alignment using a test frame rather than assuming that a level tripod alone guarantees a square camera-to-object relationship.
Check illumination across the surface
Use controlled lighting and compare the center with the corners. Adjust light positions to reduce uneven brightness and reflections; the useful angle depends on the surface and the room. Do not treat one lamp angle as a universal prescription for paper, varnished paintings and metallic media.
The Nikkei National Museum’s manual recommends documenting the setup and including reference tools such as a color target and scale. Photograph a reference frame in the artwork’s plane, then remove the tools for a clean presentation image if needed. Keep the lighting and camera settings unchanged between those frames.
Verify geometry, focus and interpretation
Inspect all four corners at a useful magnification. Compare fine details near the edges with those at the center, and check whether glare conceals brushwork or paper texture. A smooth-looking reproduction may be hiding information rather than accurately describing it.
Keep the original capture and record any adjustments made for presentation. FADGI’s digitization guidelines rely on evaluation targets and measurement; following a few setup tips does not by itself establish compliance with a formal digitization standard. Connect this capture process to reliable image ingest and separate master and delivery files so an attractive access copy does not replace the best record of the original.
Sources and further reading
- Nikkei National Museum: Object photography digitization manual
- FADGI: Technical guidelines for cultural heritage digitization
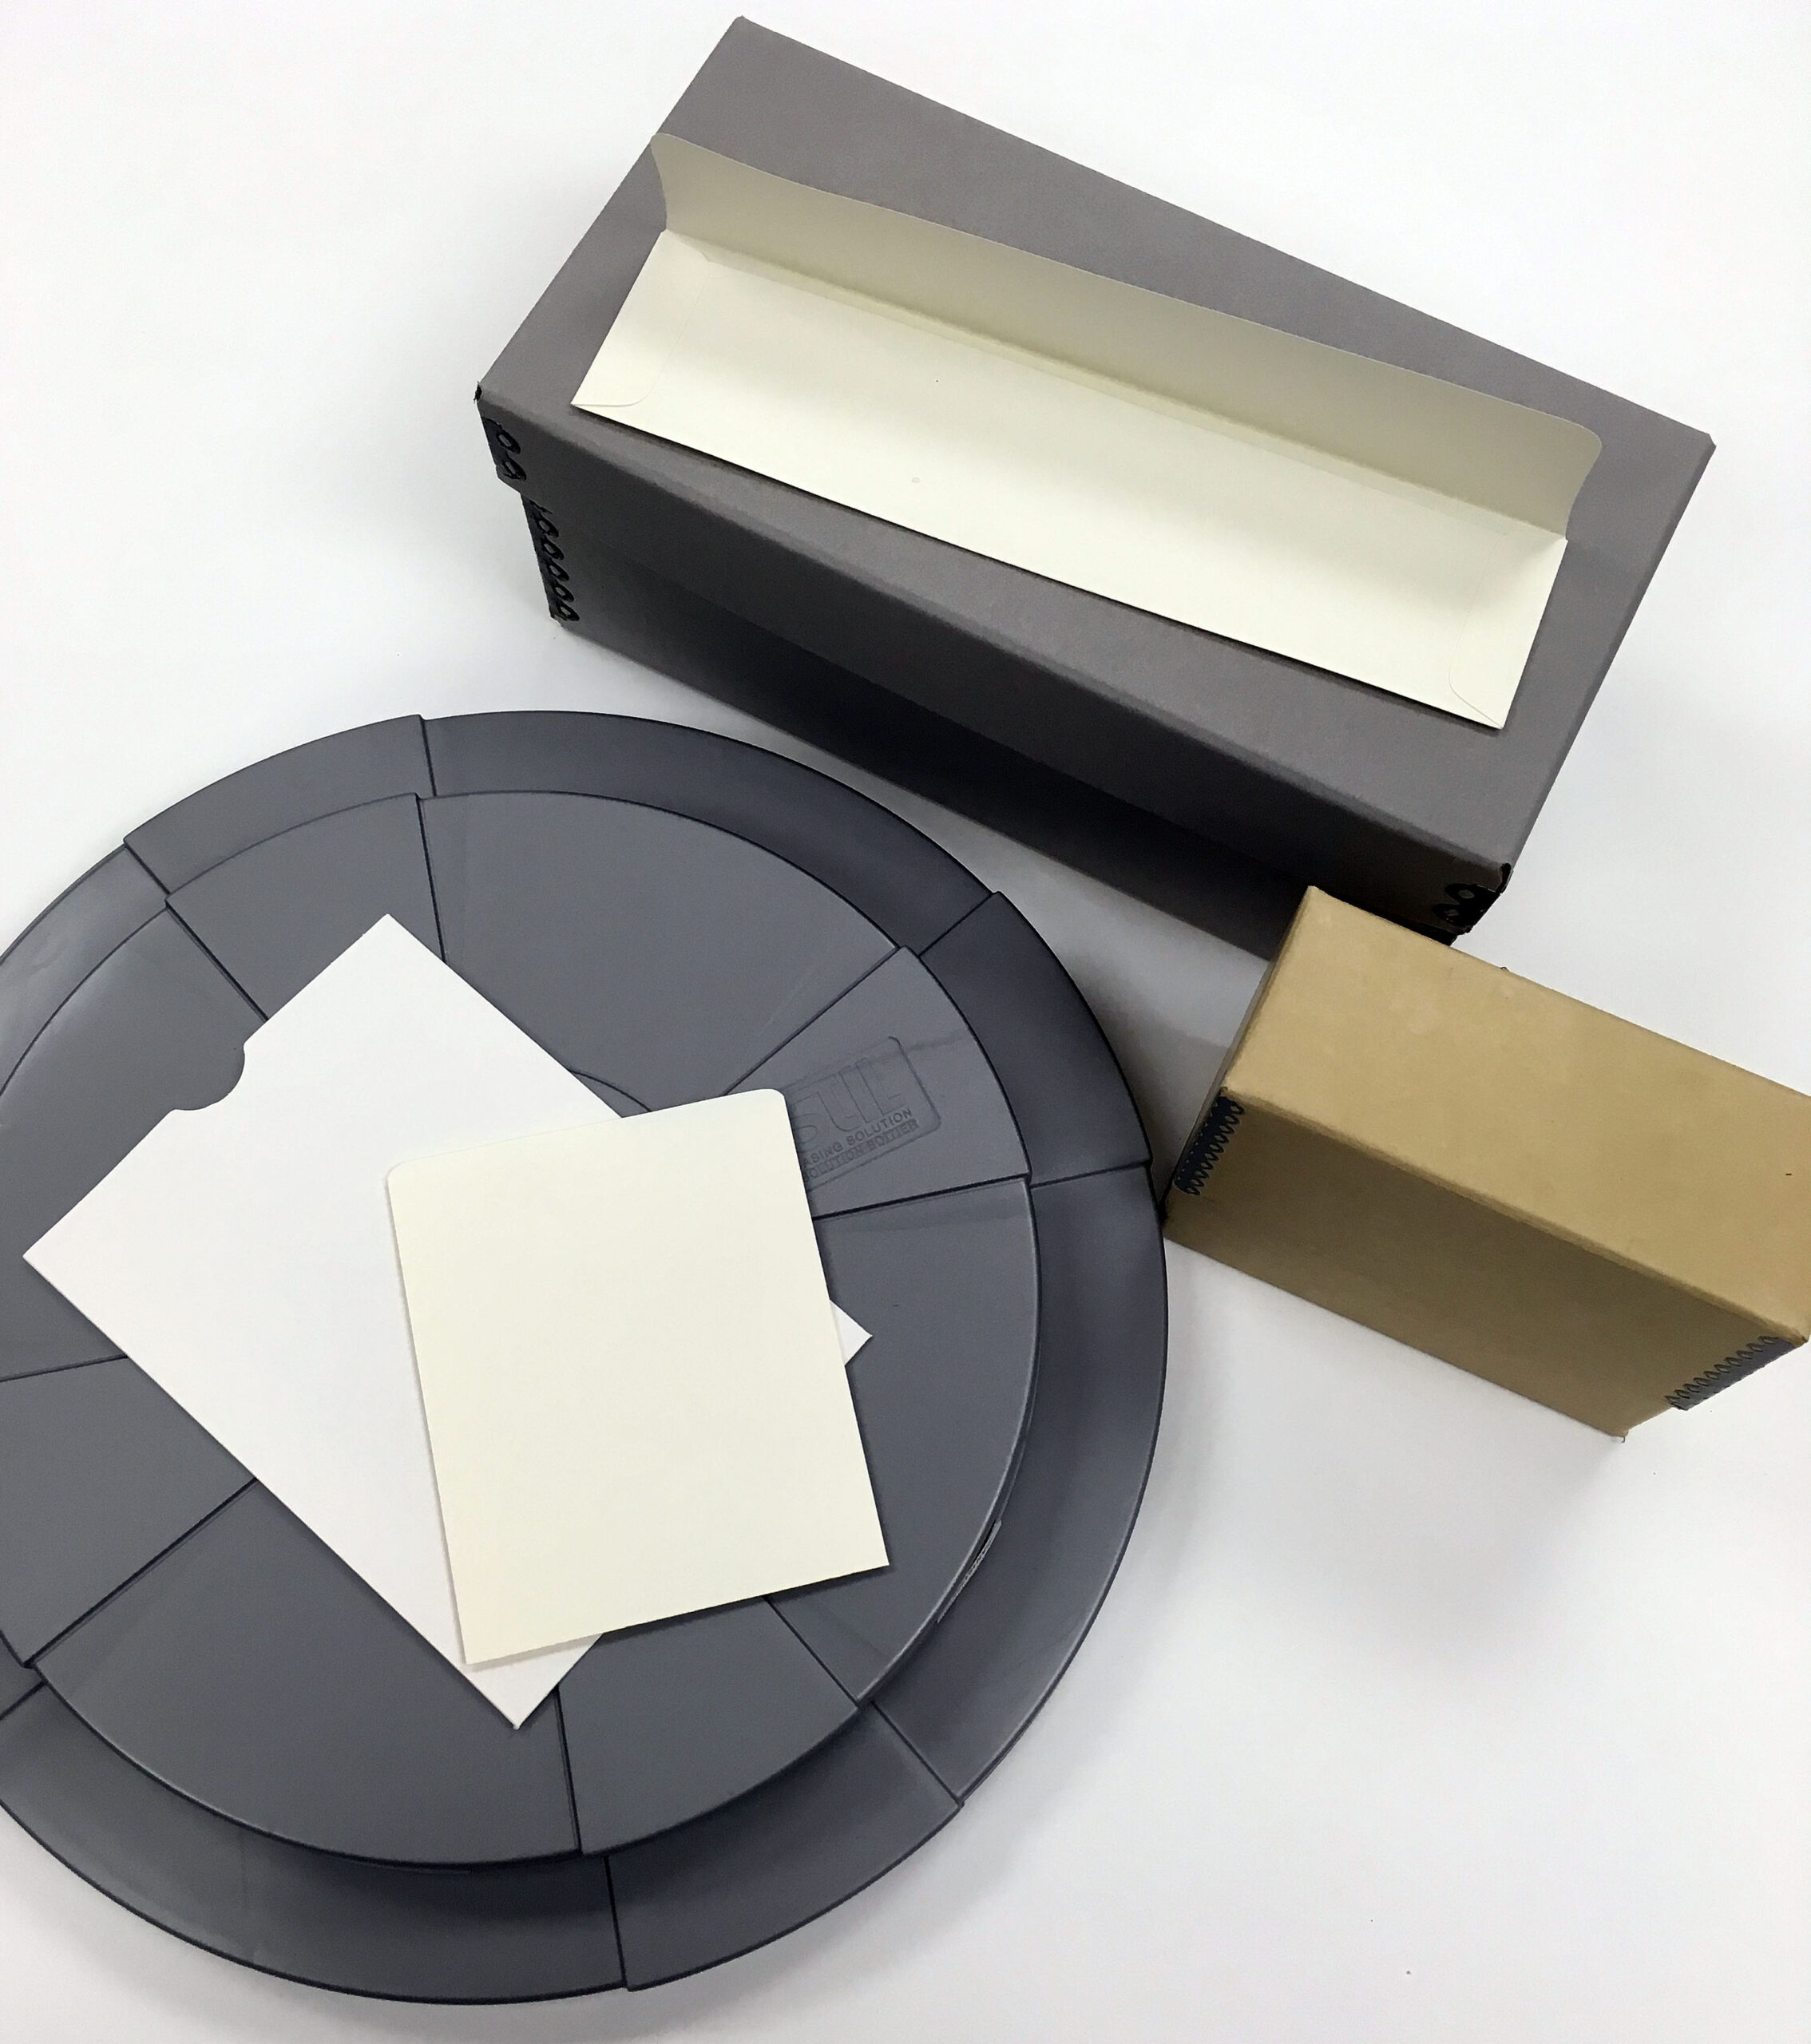
Illustrative photograph of photographic preservation enclosures: Aperegoy / Wikimedia Commons, CC BY-SA 4.0. Source: https://commons.wikimedia.org/wiki/File:Archival_Housing_Materials.jpg . License: https://creativecommons.org/licenses/by-sa/4.0/ . Resized for display; not a photograph of the copying setup described.