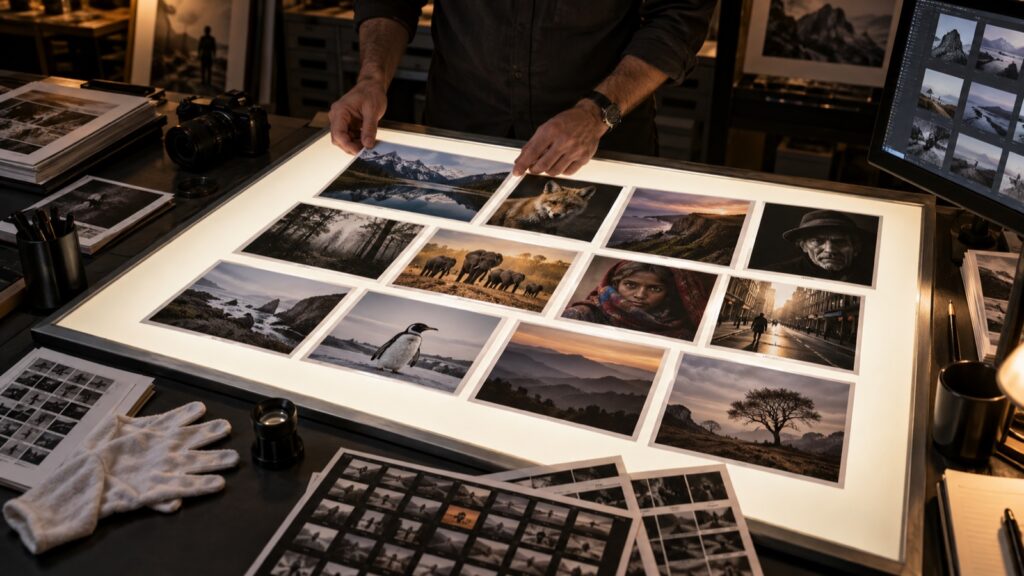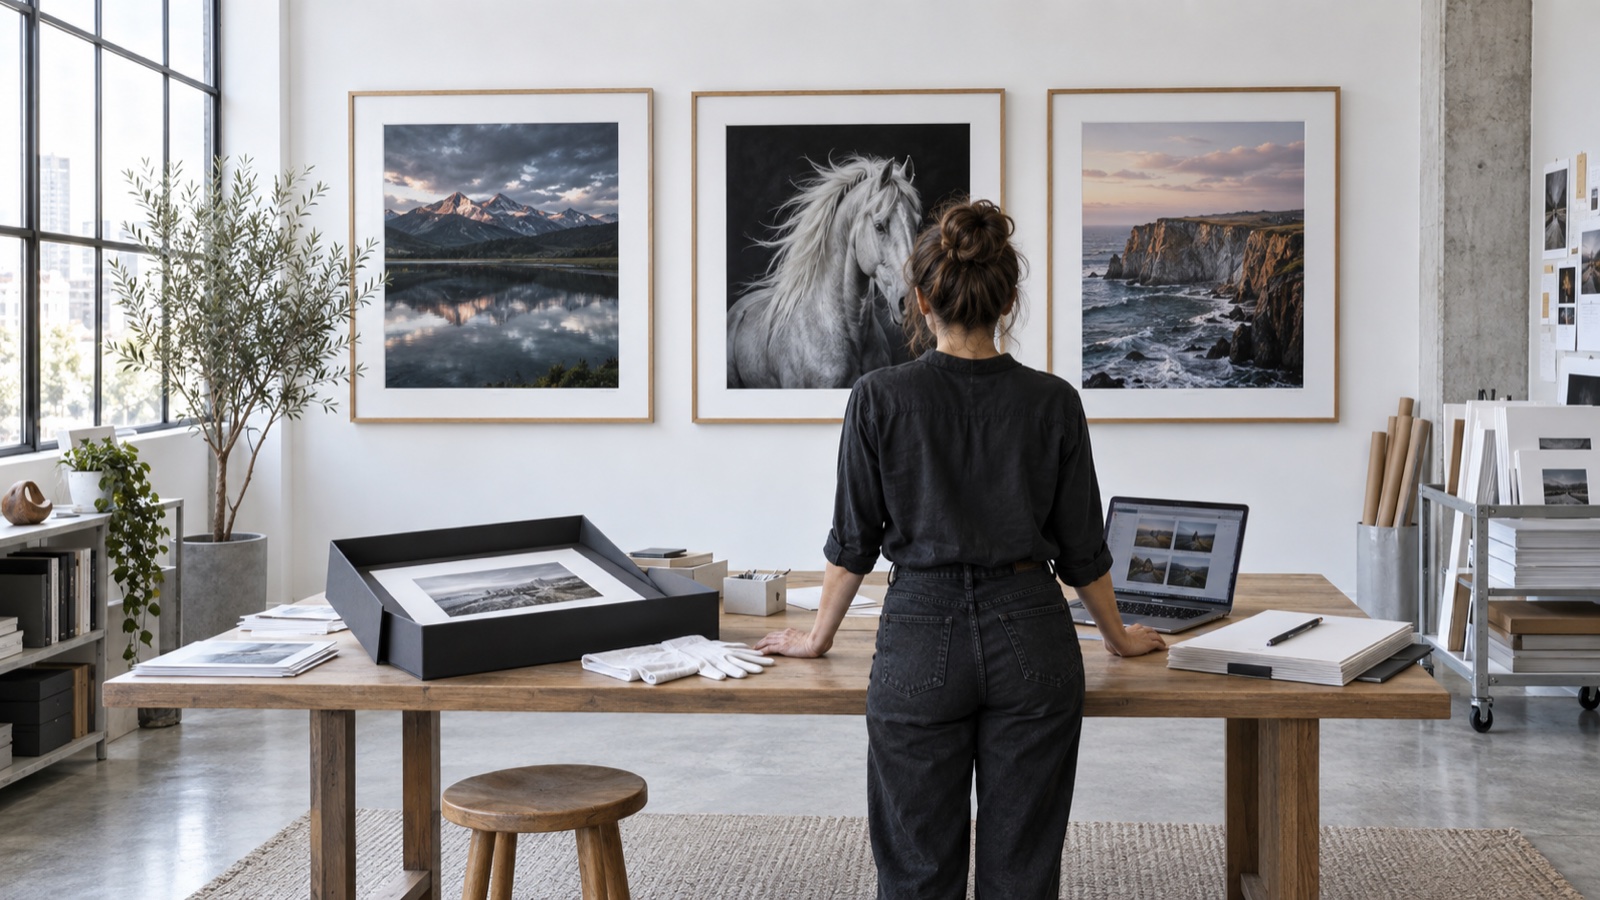
AI-generated editorial illustration from the Shutterbug News archive; not a photograph of a reported event.
Equipment guide. This article explains selection and evaluation criteria; it is not a hands-on product review.
Paper changes how a photograph feels in the hand and how it behaves in a room. Instead of buying a large box based on an online description, begin with a small selection of surfaces and one carefully chosen test image.
Keep the comparison controlled
Use a photograph that contains important elements from your work: perhaps smooth tones, a bright highlight, a dark area and fine texture. Keep image dimensions consistent so a larger print does not win simply because it is easier to inspect.
Use the settings and profile appropriate to each paper and printer combination. Record those choices on a separate sheet or the back of the test after it is safe to handle. A mislabeled test becomes difficult to learn from later, especially when two papers look similar before printing.
View the prints where they will live
Compare them in a normal viewing position, then move slightly to see how reflections affect the image. A surface that looks striking under one lamp may be awkward behind glass or near a window. Check whether your important shadow relationships remain easy to read at the intended viewing distance.
Do not look for a universal winner. Choose a surface for a particular series or presentation and keep the sample as a reference. Buying a larger quantity then becomes an informed production decision. The useful result is a repeatable combination of photograph, paper and viewing conditions, rather than a favorite adjective from a product description.
Continue exploring
The Finished Photograph: A Professional Guide to Metal Prints · How to Edit a Photography Series: From 1,000 Frames to 12 Keepers