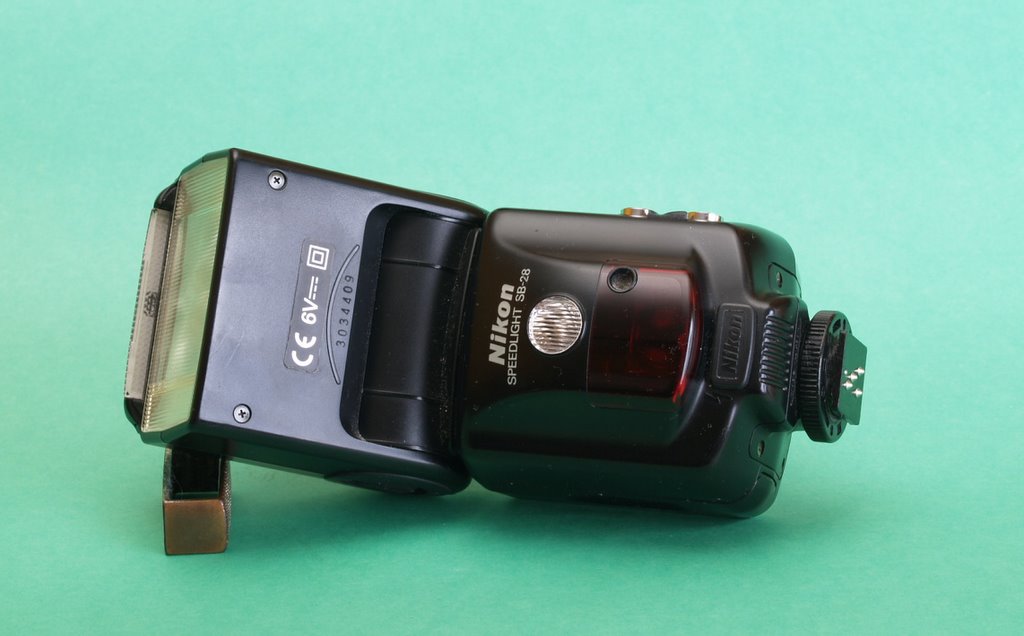
Product photograph from the Shutterbug News archive. Shown as an equipment example, not a new test result.
A single light can produce many different portraits. To understand why, keep the subject and camera position steady while changing the direction of the source. This removes the temptation to solve every problem by adding another light.
Make a simple sequence
Begin with the light slightly to one side and above the subject’s eye level, adjusted for comfort and the intended effect. Make a reference frame. Move the light farther to the side, then return it toward the camera axis, checking its support and cable path at each position.
Keep the modifier and approximate subject distance consistent during this first comparison. Adjust exposure if the change in angle requires it, but avoid changing multiple creative variables at once. Watch the shape of the nose shadow, the visibility of the far eye and the separation of the face from the background.
Choose for the person
Compare the images together rather than judging each in isolation. Ask which direction suits the expression, face and purpose of the portrait. A more dramatic shadow is not automatically a more successful photograph.
Repeat the sequence with a small change in head angle. This shows how posing and lighting interact: the same lamp position can produce a different effect when the person turns. Save a simple setup note with the selected frame so the lesson becomes a repeatable method, not just a collection of experiments.
Continue exploring
Lighting is your Key to Success · Exploring Pre-visualization in Photography