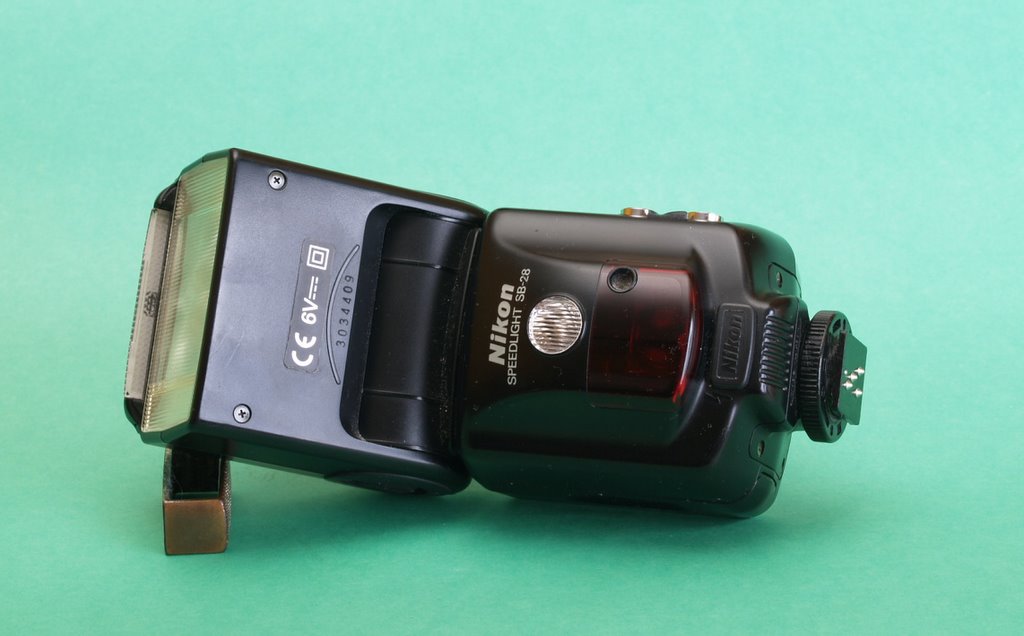
Product photograph from the Shutterbug News archive. Shown as an equipment example, not a new test result.
An accent light can help a subject separate from a dark background, but a bright outline is not the goal by itself. Begin with a main-light portrait that already works, then identify the specific edge or area that needs help.
Add the smallest useful change
Place the accent source where it can reach that area without shining directly into the lens. Follow the support and heat guidance for the light and modifier. Start with a restrained output and make a comparison frame.
Look beyond the hair or shoulder you intended to illuminate. Check the cheek, ear, clothing and background for spill. A bright patch on the nose or a glowing shirt seam can draw more attention than the face. Change the angle or use an appropriate flag where necessary rather than immediately lowering every light in the setup.
Inspect the frame edges
Review both the full image and a closer view. Make sure the accent does not create a distracting hotspot or an edge that looks disconnected from the rest of the portrait. Confirm that flare has not reduced the contrast you wanted to preserve.
Switch the accent off for one final reference frame. If the photograph is stronger without it, keep the simpler setup. When the added light does help, record its placement and output relative to the main light. Separation should support the subject’s presence, not become the most noticeable feature of the picture.