
When framing natural environments, still photography captures a single preserved instant, yet dynamic weather and shifting light often demand a temporal dimension. From historic conservation efforts in public parks to modern visual storytelling, documenting natural change requires both technical discipline and patience. According to the U.S. National Park Service, photography has historically played a critical role in showing why scenic and historic vistas needed protection, enabling audiences to appreciate remote places even without visiting in person. Extending landscape work into time-lapse capture allows photographers to compress hours of shifting light, skyscapes, and seasonal transitions into fluid sequences.
Matching Interval Timing to Environmental Speed
The primary technical variable in any time-lapse sequence is the interval between exposures. Setting an incorrect interval risks either a disjointed, stuttering final sequence or an unnecessarily massive series of raw files that consume storage without adding visual smoothness. In technical notes published by Nikon, technical specialist Steve Heiner demonstrates that the optimal interval depends strictly on how fast elements move through the frame (Nikon Ideas & Inspiration: Time Travels).
When photographing landscapes where clouds move rapidly—such as coastal regions or windy ridges—short intervals of one, two, or three seconds are recommended to maintain fluid, film-like motion. Conversely, high-mountain scenes where weather fronts shift gradually or slow clouds creep over peaks dictate longer gaps of 10, 15, or even 30 seconds. Selecting your timing upfront prevents the visual jumps that occur when natural subjects move too far between consecutive exposures.
Before locking in an interval sequence, framing the horizon and choosing what foreground elements remain stationary is essential; reviewing techniques such as how to straighten and crop a landscape without losing its intent ensures your composition maintains strong visual geometry throughout the entire capture period.
Balancing Exposure Duration and Night Skies
Nighttime landscape sequences introduce the dual challenge of low illumination and earth rotation. Unlike daytime intervals where the shutter speed is typically a fraction of a second, astrophotography time-lapses require deliberate synchronization between exposure length and cycle interval.
In field demonstrations documenting the desert night sky, Heiner detailed using an exposure of approximately 15 seconds paired with a total interval of 20 seconds between frames to record the Milky Way overnight (Nikon Ideas & Inspiration: Time Travels). This five-second buffer provides essential clearance for the camera buffer to clear and write uncompressed files to the media card without stalling the internal intervalometer. In landscape work, editorial testing confirms that running a continuous interval timer too tight against a long shutter speed can cause dropped frames whenever file processing delays occur.
| Scene Environment | Recommended Interval | Exposure Duration | Primary Motion Target |
|---|---|---|---|
| Fast Coastal Clouds | 1 to 3 seconds | 1/100s to 1/2s (use ND filters) | Rapid atmospheric drift |
| Mountain Overlooks | 10 to 30 seconds | Fractional daylight shutter | Gradual cloud development |
| Night Desert / Stars | 20 seconds | ~15 seconds | Milky Way & stellar rotation |
| Crowded Park Trails | 1 to 2 seconds | Fractional daylight shutter | Pedestrian transit flow |
Built-In Interval Timers Versus External Hardware
Historically, capturing sequenced intervals required bulky, separate hardware intervalometers that added cabling and potential failure points to a field kit. Modern digital bodies across major systems now integrate internal interval timers directly within their core shooting menus. This eliminates external trigger cables that can swing in gusty mountain winds and introduce mechanical blur.
While internal intervalometers simplify the physical setup, exposure consistency remains paramount. When shooting scenes with drastic illumination shifts—such as a dawn transition or passing storm clouds—evaluating overall dynamic range becomes critical. Deciding whether to utilize multi-shot techniques or single exposures can be guided by principles outlined in exposure bracketing for landscapes: decide whether you need it first, ensuring the sensor retains shadow and highlight detail as light conditions evolve.
Practical Field Considerations for Landscape Sequences
- Tripod Anchoring: Because intervals can span from 15 minutes to several hours, any vibration or micro-shift completely ruins the temporal alignment of the sequence.
- Manual Exposure Modes: Setting manual exposure, white balance, and manual focus locks values in place, preventing frame-to-frame exposure flicker.
- Buffer Management: Ensure that your selected memory card write speed easily sustains the chosen raw file size within the interval window.
- Lens Element Protection: In humid or desert environments, long-duration captures require shielding from lens dew, coastal mist, or wind-blown dust.
Assembling the Landscape Sequence
Once hundreds or thousands of sequential frames are recorded on location, post-processing transitions individual stills into video streams. Dedicated video editing and sequence tools—ranging from QuickTime Pro to standard non-linear video suites—allow photographers to compile frame stacks into standard 24, 30, or 60 fps files (Nikon Ideas & Inspiration: Time Travels). By matching the shooting interval directly to the physical velocity of the landscape, photographers capture the natural world not merely as static geography, but as an active, living environment.
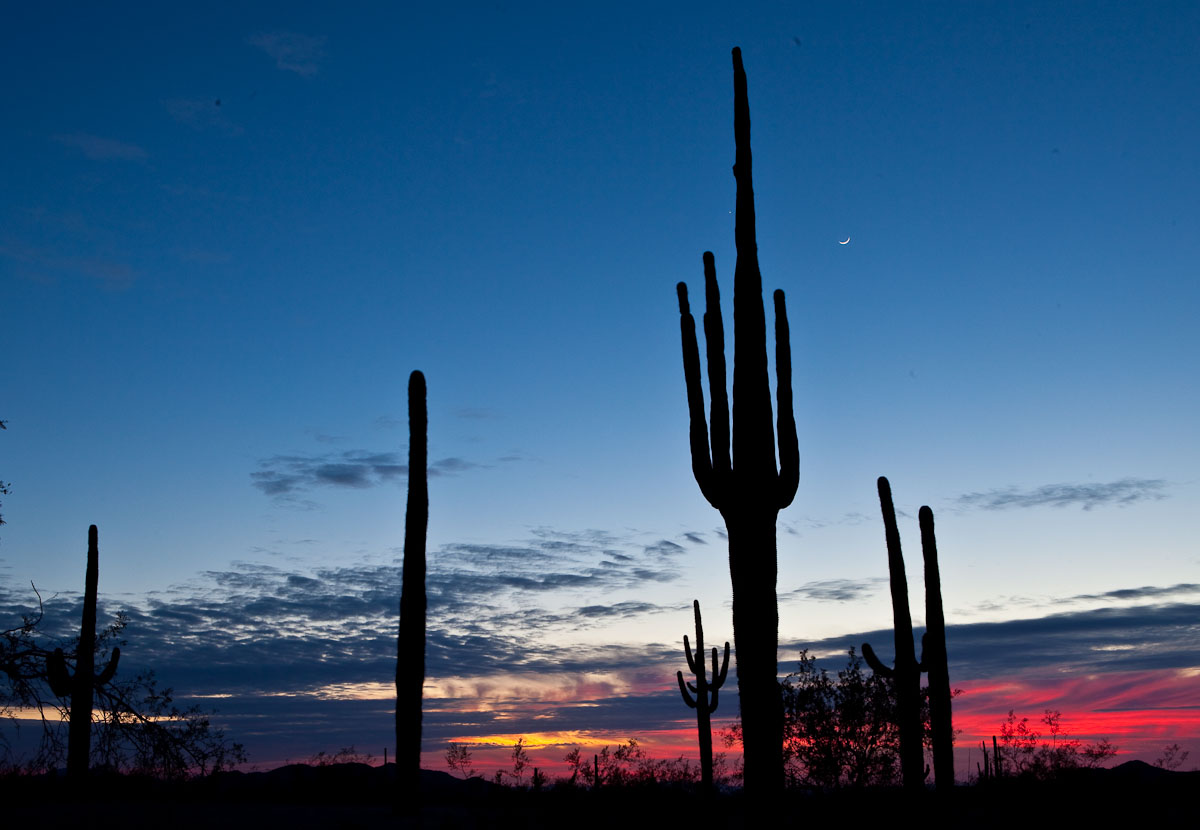
Representative photo of a desert sky at dusk, illustrating the low-light conditions often encountered in landscape and night-sky time-lapse sequences. Photo: Bureau of Land Management / Wikimedia Commons · Public domain. Resized for display. Sources checked October 30, 2026.