A national park photography plan should include the journey back from the photograph. Sunrise starts, bulky equipment and long waits can turn an ordinary visit into a demanding outing. Build the route around the conditions and the people traveling, then decide what camera equipment fits that plan.
Research the route rather than only the viewpoint
The National Park Service Trip Planning Guide recommends checking the park environment, activities and your own abilities before departure. For a photography trip, note the walk from the vehicle, terrain, likely return time and the availability of water and other facilities.
Check the specific park’s current alerts and access information shortly before travel. A familiar photograph does not establish that its viewpoint is currently open or reachable. Account for the weight of the kit when judging the route, especially if someone in the group has less outdoor experience.
Make a workable alternative
Write down a shorter route or another permitted subject before you need it. Alternatives should be chosen for their actual conditions; a paved overlook is not automatically safe during lightning or severe weather. Change the assignment when conditions require it instead of letting the planned image dictate the decision.
Decide on a turnaround time and communicate the trip plan to a trusted contact. Include enough detail for that person to understand your route and expected return. For an unfamiliar or demanding outing, seek location-specific guidance from park staff.
Prepare navigation before losing service
The official NPS App offers downloadable park content for offline use. Download the relevant information while connected and verify it is available before departure. Carry appropriate independent navigation and safety equipment; an app should not be the only plan for a depleted or damaged phone.
Keep camera batteries and personal navigation needs separate in your packing decisions. Remove accessories that do little for the intended photographs so essential supplies do not get displaced. Our guide to choosing a bag for the shooting day can help with that practical trade-off.
Use the rules for the park you are visiting
Wildlife distances, access restrictions and permitted activities vary by place and situation. Follow the posted requirements and staff instructions rather than assuming one number applies throughout the park system. A longer lens does not justify remaining where an animal or visitor is at risk.
Review the NPS essentials and emergency-planning resources alongside your equipment list. When a support is needed, choose one you can carry and deploy within the permitted location; our tripod-head comparison covers the photographic choice. The route, weather and safe return remain the starting conditions for the photograph.
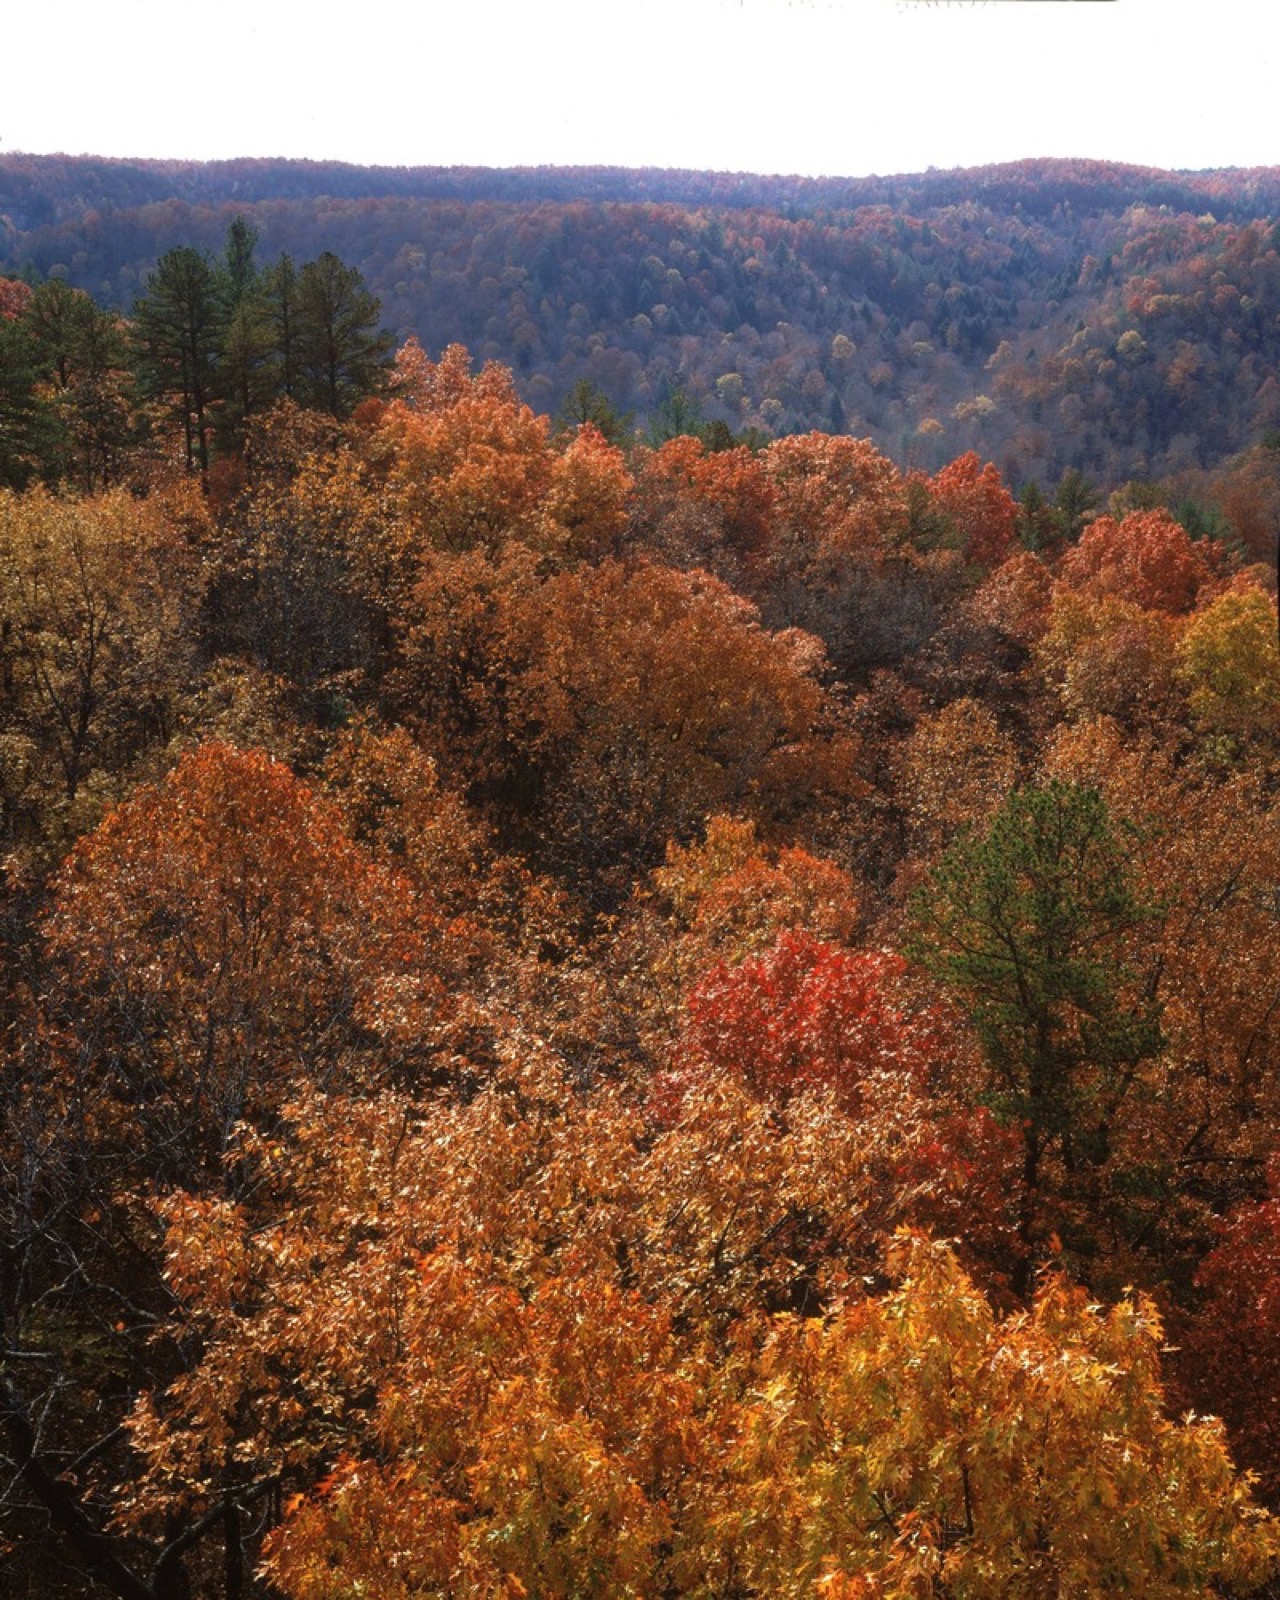
Feature photo: National Park Service, Middle Creek Overlook, Big South Fork National River and Recreation Area. Archival photograph; not a report of current foliage or trail conditions.
Sources reviewed October 30, 2026.