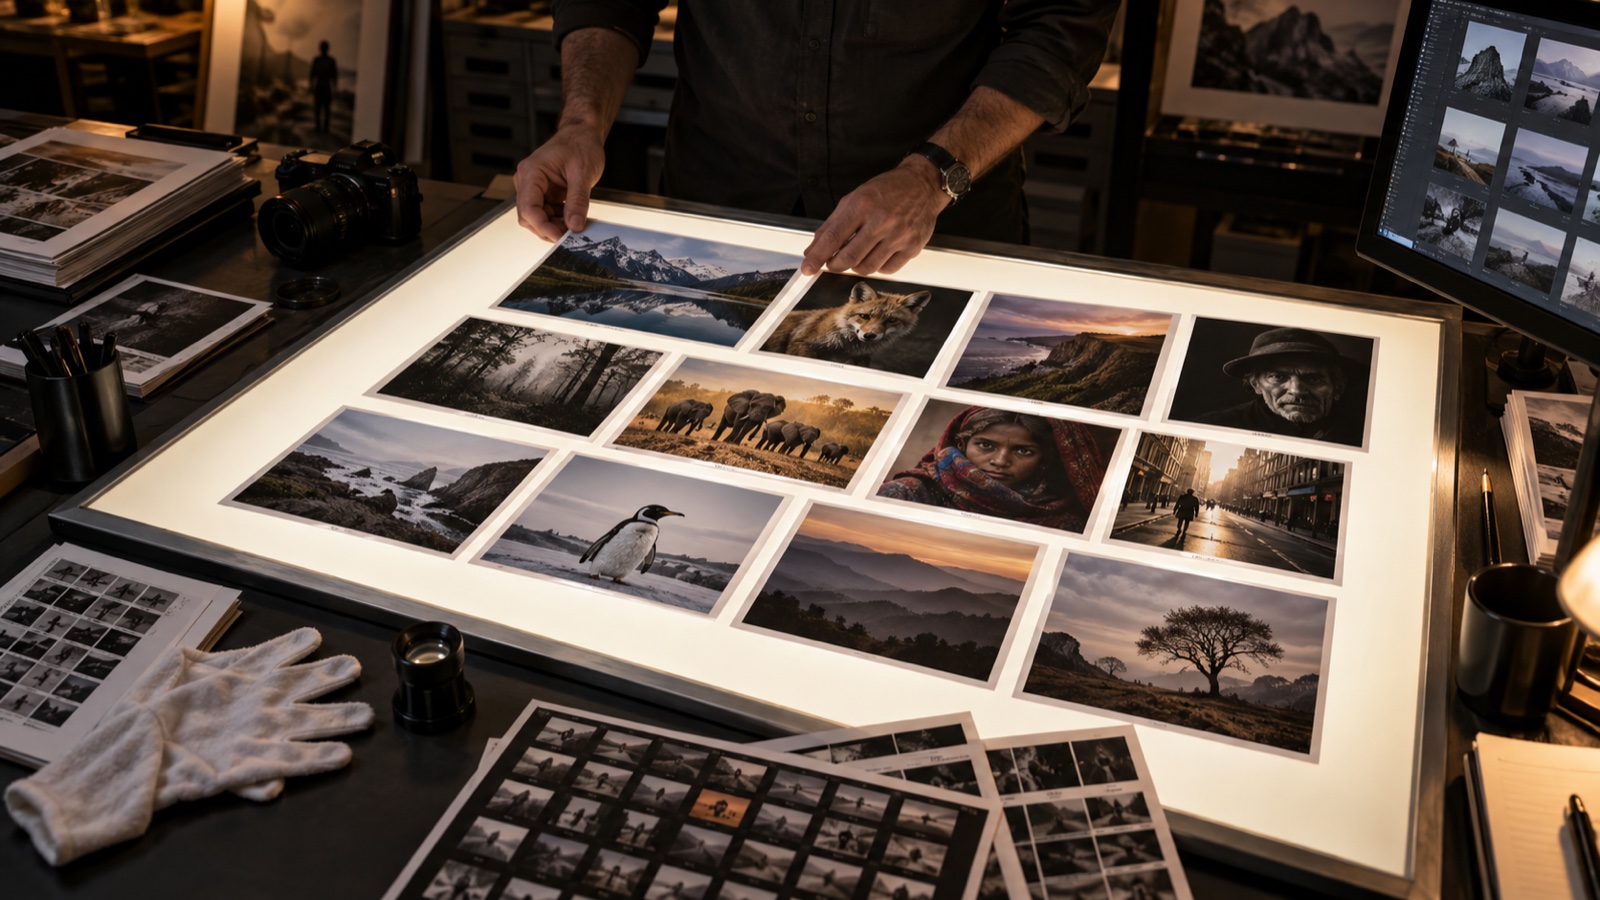
AI-generated editorial illustration from the Shutterbug News archive; not a photograph of a reported event.
Equipment guide. This article explains selection and evaluation criteria; it is not a hands-on product review.
A software demonstration shows what an editor can do under favorable conditions. Your own difficult photographs show whether it fits the work you actually need to finish. Build a small test set before starting a trial.
Include recurring problems
Choose a high-contrast landscape, a portrait with delicate skin tones, a high-ISO frame and an image that needs a local adjustment. Add a photograph you have already printed successfully. These files provide a more meaningful comparison than a collection of unfamiliar sample images.
Give each application the same task and a reasonable amount of learning time. Record how you reach the result, not just how quickly you find the first slider. An unfamiliar interface may become efficient with practice; an export limitation may remain a problem regardless of familiarity.
Follow the photograph through delivery
Check file organization, metadata, external editing and the formats you need to deliver. Open the exported image outside the editor. Confirm dimensions, appearance and the information included in the file rather than treating a completed progress bar as proof of a finished workflow.
Finally, ask whether you can return to the project later and understand what you did. Compare the software’s current licensing and storage terms directly before subscribing or buying. Choose the editor that supports your recurring work and preserves a clear path to the finished photograph. A feature you use reliably is worth more than a spectacular tool you rarely need.
Continue exploring
Lightroom 9.5 adds Generative Expand and finer masking controls · How to Edit a Photography Series: From 1,000 Frames to 12 Keepers