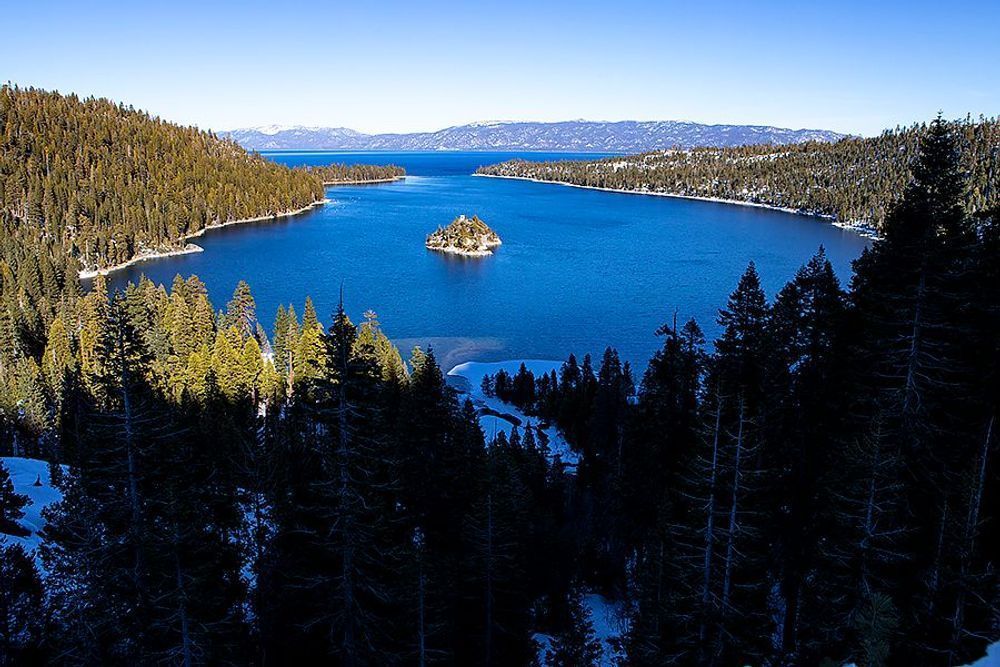
Photograph: Neal Nachman / Artistic Creationz. Used as an illustrative image.
Exposure bracketing is most useful when it solves a specific problem in a high-contrast scene. Before making a long sequence, identify which important highlight or shadow cannot be represented satisfactorily in your normal exposure.
Make a reference frame
Choose the composition and take a careful single exposure. Review the histogram and highlight warning if your camera provides them, remembering that the preview reflects the camera’s rendering. Decide which bright areas need detail and which are simply light sources or reflections that can reasonably remain bright.
If a bracket is justified, keep the camera position stable and use a consistent aperture when depth of field matters. Consult your manual for the bracketing controls and the setting the camera varies. Take the sequence promptly, then verify that the intended exposures were actually recorded.
Watch what moves
Leaves, waves, clouds and people can change between frames. Inspect those areas before treating a merged result as finished. Sometimes one carefully processed exposure is more convincing than a combination with awkward movement artifacts.
Keep the single reference frame beside the merged version. Compare the overall light, not just the amount of recovered detail. A landscape can lose its sense of time and atmosphere when every dark area is lifted equally. Use the additional exposures to support the photograph you intended, and retain a straightforward version when the extra complexity does not improve it.
Continue exploring
Beyond Golden Hour: Finding Beautiful Photographs in Unexpected Light · Chasing Autumn: A Photographer’s Guide to Fall Color in 2026