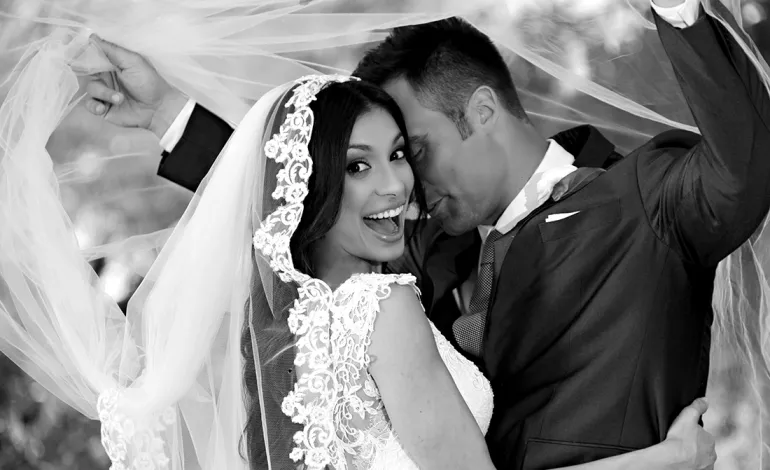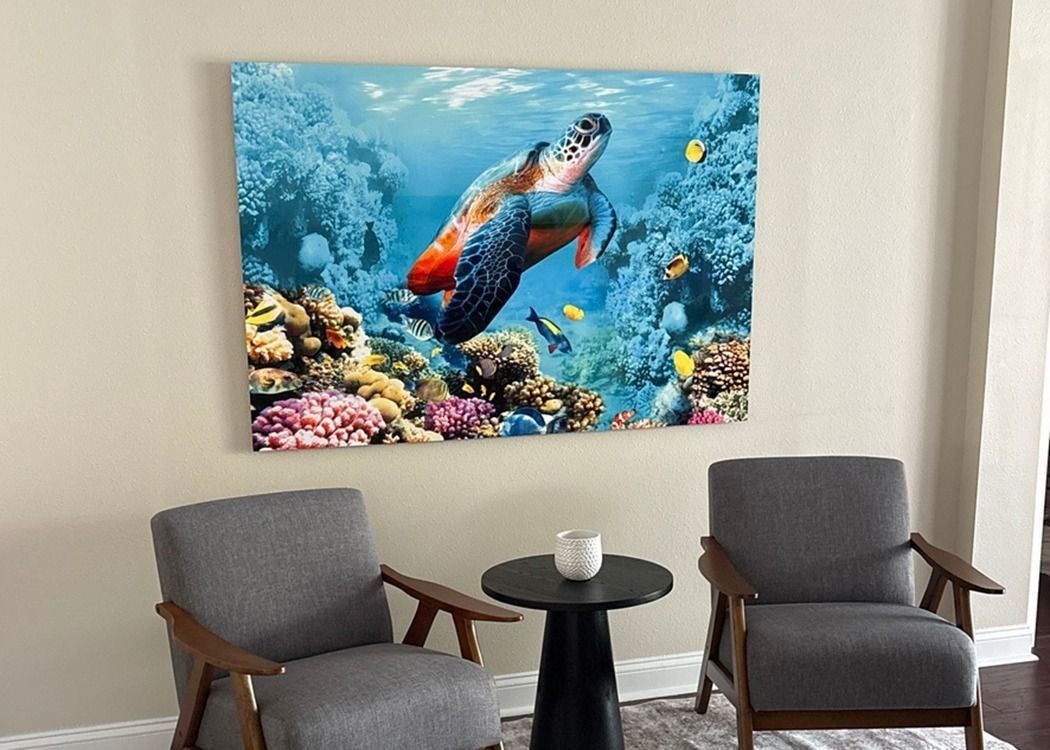
Photograph: Neal Nachman / Artistic Creationz. Used as an illustrative image.
A photograph that looks balanced on a bright screen may need a different treatment for a particular print. Keep those output decisions distinct from the master edit so you can return to either version with confidence.
Define the intended output
Identify the printer, paper and appropriate profile for the combination you will use. In Lightroom Classic’s Develop module, enable Soft Proofing and use Create Proof Copy for output-specific adjustments. Adobe’s documentation explains the proof controls and gamut warnings.
Label the proof version with enough information to recognize its purpose. Compare the preview with the master and look at the relationships that matter most: skin tones, a dark foreground, a subtle sky or the separation of adjacent colors. Do not assume every warning demands an aggressive correction.
Confirm with a physical print
Make a small test using the intended paper and settings. View it under suitable, consistent lighting and compare it with the goal of the image, not simply the brightness of the screen. Soft proofing is a preview of an output condition; it does not replace evaluating the actual print.
Record any final changes and keep the successful settings with the project. If the same photograph later goes to another paper or printer, begin a separate output version. That separation makes revisions easier and preserves the creative master instead of turning it into a compromise between several different destinations.
Continue exploring
The Finished Photograph: A Professional Guide to Metal Prints · How to Prepare Photographs for Juried Shows and Gallery Submissions
Source and further reading: Adobe Lightroom Classic soft-proofing guidance. Checked October 8, 2026.